How to Run Dirigible Anywhere - Microsoft Azure?
This blog is the first of series of blogs on the hot topic - "How to Run Dirigible Anywhere?". Our first target to run Eclipse Dirigible on is Microsoft Azure.
Micrsoft Azure
Why Microsoft Azure?
Microsoft Azure public cloud has proven to be mature enough to run your enterprise bussines applications, scale your business, benefit from the variety of services it provides, simplify the complex environments, pay only for what you've used and a lot more. It seems to be the right place to run your one Eclipse Dirigible instance.
Here are some resources on why to choose Microsoft Azure:
Steps
Bellow you can find the steps of how to deploy Eclipse Dirigible on Microsoft Azure.
-
Sing Up for Microsoft Azure.
- To benefit from the 1 month free trial, you should have a Microsft Account, or you should create a new account.
- To sign up for Microsoft Azure, go to https://azure.microsoft.com and start the free trial.
- With the Microsoft Azure subscribtion, you will have access to 20+ availability zones around the globe, 14 virtual machines, CDN, IoT services, Hadoop and many more.
NOTE: You can register only once for the free trial!
-
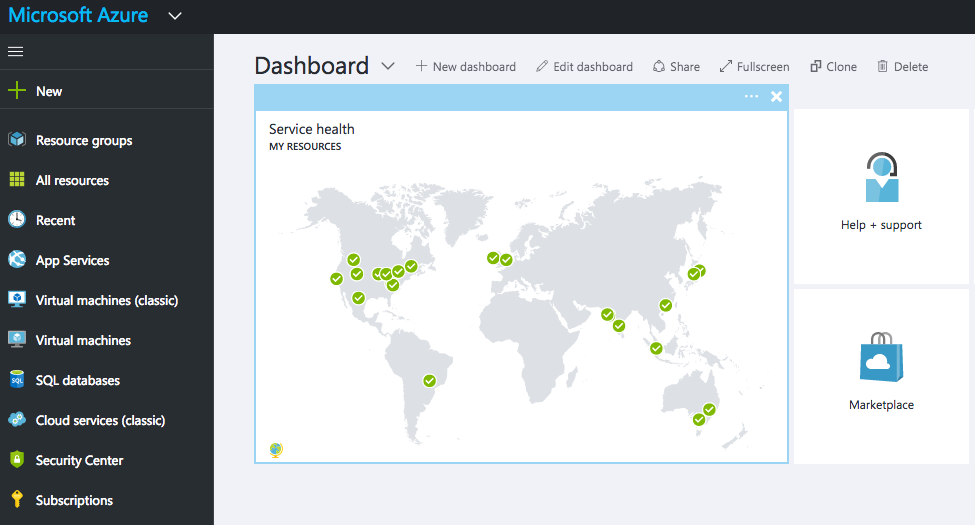
Log in to Microsoft Azure Portal.
The Microsoft Azure Portal is a central place for management, operations, delivery and even development of your cloud services and solutions.
-
Create new VM with Tomcat server.
- To deploy Eclipse Dirigible on Microsoft Azure, you need a virtual machine equiped with JDK 6+ and Tomcat.
-
Luckily, the provisioning of VMs in Azure is really easy and you can select between a large set of templates.
-
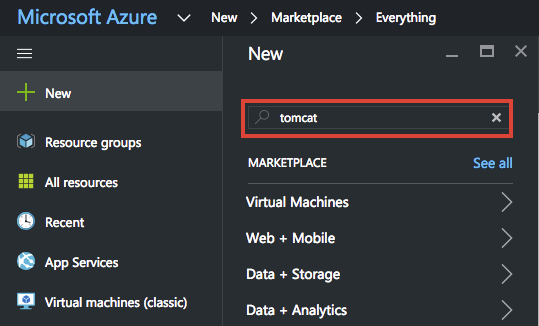
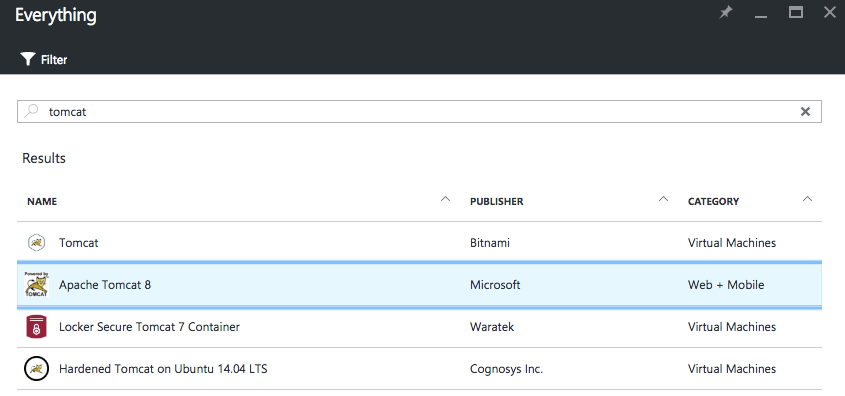
Click on the New button and search for 'tomcat'.
-
Create a new VM with the "Apache Tomcat 8" template, published by "Microsoft".
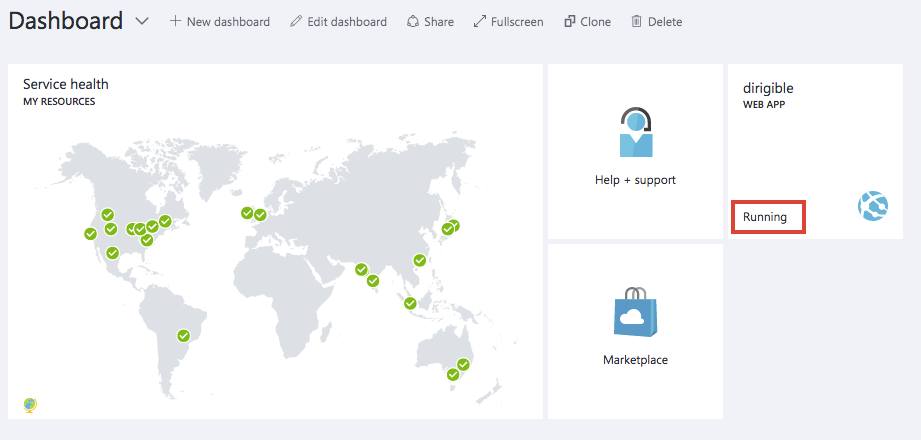
NOTE: Select the "Pin to dashboard" checkbox to add the VM to the portal's dashboard.
- Creating the VM may take up to 5 minutes, so relax, lay back and wait patiently for it.
-
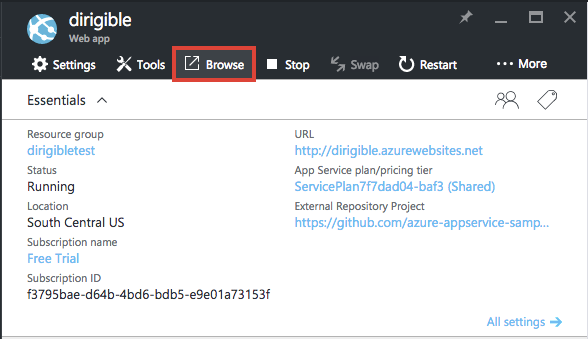
On your dashboard, you will see a tile with the VM info. Wait until the VM is in "Running" state.
 4. Deploy Eclipse Dirigible.
* Before deploying Eclipse Dirigible, ypu can get rid of some of the default content deployed with the Tomcat server. To do that, you benefit from some of the finest web-based development tools, that Azure offers.
1. Click on your WEB APP tile.
2. From the menu, click on the Tools bar and launch the App Service Editor (Preview).
4. Deploy Eclipse Dirigible.
* Before deploying Eclipse Dirigible, ypu can get rid of some of the default content deployed with the Tomcat server. To do that, you benefit from some of the finest web-based development tools, that Azure offers.
1. Click on your WEB APP tile.
2. From the menu, click on the Tools bar and launch the App Service Editor (Preview). 3. The web-based workbench should be displayed, with the files and folders under the wwwroot directory on the VM.
4. Navigate to "bin/apache-tomcat-8.0.33/webapps" and delete all files and folders under this directory.
5. Close the App Service Editor (Preview) tool and go back to your WEB APP settings page.
6. Now, you are going to use another web-based tool - the good old Console.
7. Navigate to the "webapps" folder of the server.
3. The web-based workbench should be displayed, with the files and folders under the wwwroot directory on the VM.
4. Navigate to "bin/apache-tomcat-8.0.33/webapps" and delete all files and folders under this directory.
5. Close the App Service Editor (Preview) tool and go back to your WEB APP settings page.
6. Now, you are going to use another web-based tool - the good old Console.
7. Navigate to the "webapps" folder of the server. cd bin/apache-tomcat-8.0.33/webapps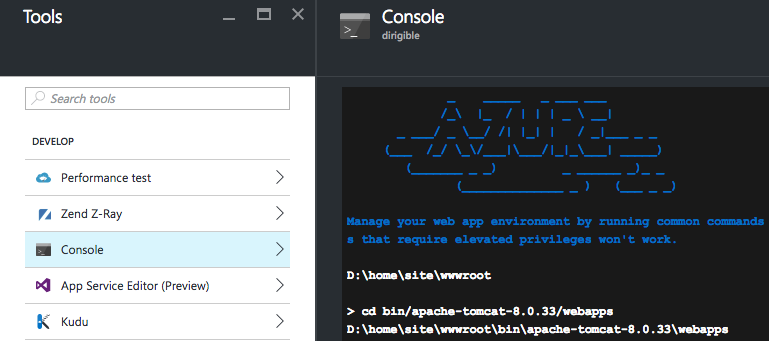
NOTE: Unfortunately, the Console lacks the paste functionality, so you should type manualy each command in it.
-
Now it's time to download and run the latest release of Eclipse Dirigible on this VM.
- Go to http://download.eclipse.org/dirigible/ and open the latest release.
- From the different types of downloads, you need the "Tomcat" and more specificaly the "allinone".
-
Right click on "tomcat/allinone/ROOT.war" and copy the link address.
NOTE: At the time of this blog, the latest relase was 2.5.
-
Go back to the Azure web-based Console and execute under the "webapps" directory the following command:
curl http://download.eclipse.org/dirigible/drops/R-2.5-201608041010/tomcat/allinone/ROOT.war -o ROOT.warNOTE: The address from the curl request is the one that you've copied earlier, from the "Eclipse Dirigible Downloads" page.
-
The whole download may take up to 5 min.
- After the download is completed, the Tomcat server will extract and run the ROOT.war. After a while, Eclipse Dirigible will be accessible through the HTTP. However, there is one more step that needs to be done, before you can use it.
- Assign the Eclipse Dirigible specific roles.
- The last step is to crete a user and assign it the following roles, in order to use Eclipse Dirigible:
- Everyone
- Developer
-
Operator
-
Use the web-based App Service Editor (Preview) to edit "bin/apache-tomcat-8.0.33/conf/tomcat-users.xml".
-
Add the following content:
`
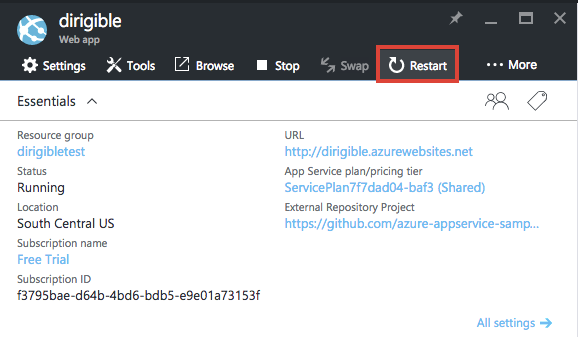
<role rolename="Everyone"/>
<role rolename="Developer"/>
<role rolename="Operator"/>

<user username="dirigible" password="dirigible" roles="Developer,Operator,Everyone"/>
` 3. Restart the VM to apply the users configuration.
-
-
Launch Eclipse Dirigible.
- Finally, you can launch the Eclipse Dirigible platform.
-
To do that, click on the Browse button from the WEB APP settings.