Custom Domain in Kubernetes with AWS Route 53, Gardener, Istio & Let's encrypt
Overview
In this article we are going to setup custom domain for Dirigible application in Kubernes cluster with Gardener, AWS Route 53, Istio, Let's encrypt.
The target Kubernetes deployment is shown bellow:

Overview
Kubernetes is an open source system for automating deployment, scaling, and management of containerized applications in a cluster environment. You can read more about Kubernetes here.
Overview
Amazon Route 53 is a highly available and scalable cloud Domain Name System (DNS) web service. here.
Overview
Deliver fully-managed clusters at scale everywhere with your own Kubernetes-as-a-Service. Kubernetes-native system managing the full lifecycle of conformant Kubernetes clusters as a service on Alicloud, AWS, Azure, GCP, OpenStack, EquinixMetal, vSphere, MetalStack, and Kubevirt with minimal TCO.here.
Overview
Istio is an open source service mesh that layers transparently onto existing distributed applications. Istio’s powerful features provide a uniform and more efficient way to secure, connect, and monitor services. here.
Prerequisites
In this article we assume that you have already running productive Kubernetes Cluster on Gardener and configured kubectl for it. If you don't have such, you can create one by using the the open-source Gardener project. Also you will need AWS account or AWS Free Tier, you need to install Istio and Dirigible
AWS Route 53 Configuration
-
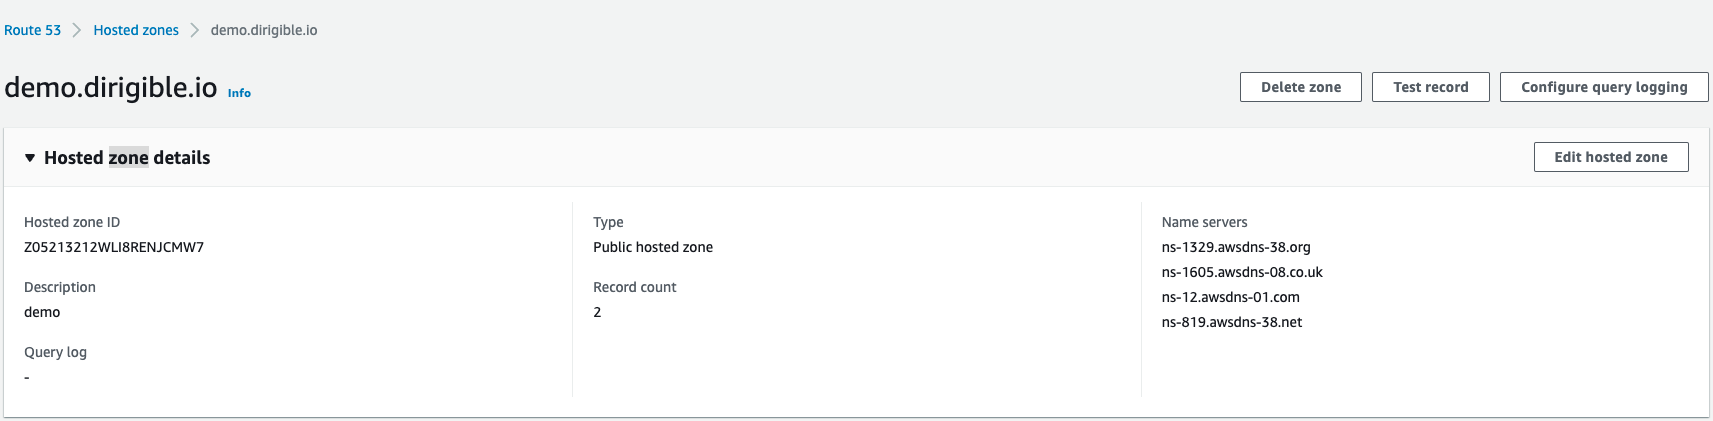
Create hosted zone - when you create hosted zone choose type
Public hosted zonesee the image below.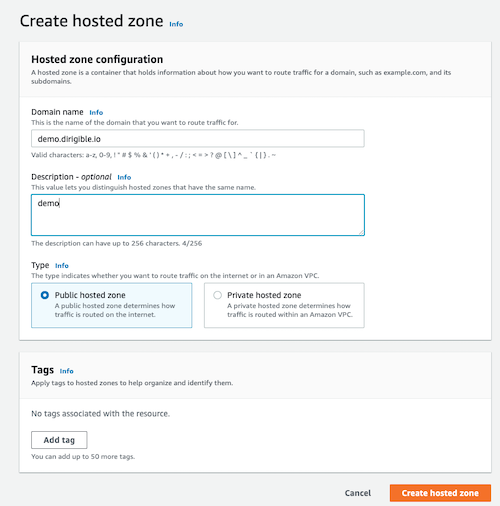
After you create your hosted zone you can delegate your subdomain to AWS, if you don't host your parent domain in AWS. You can take the name servers which you can see in the image bellow and add ns records to your domain. But if you host your domain in AWS you don't need to delegate.

-
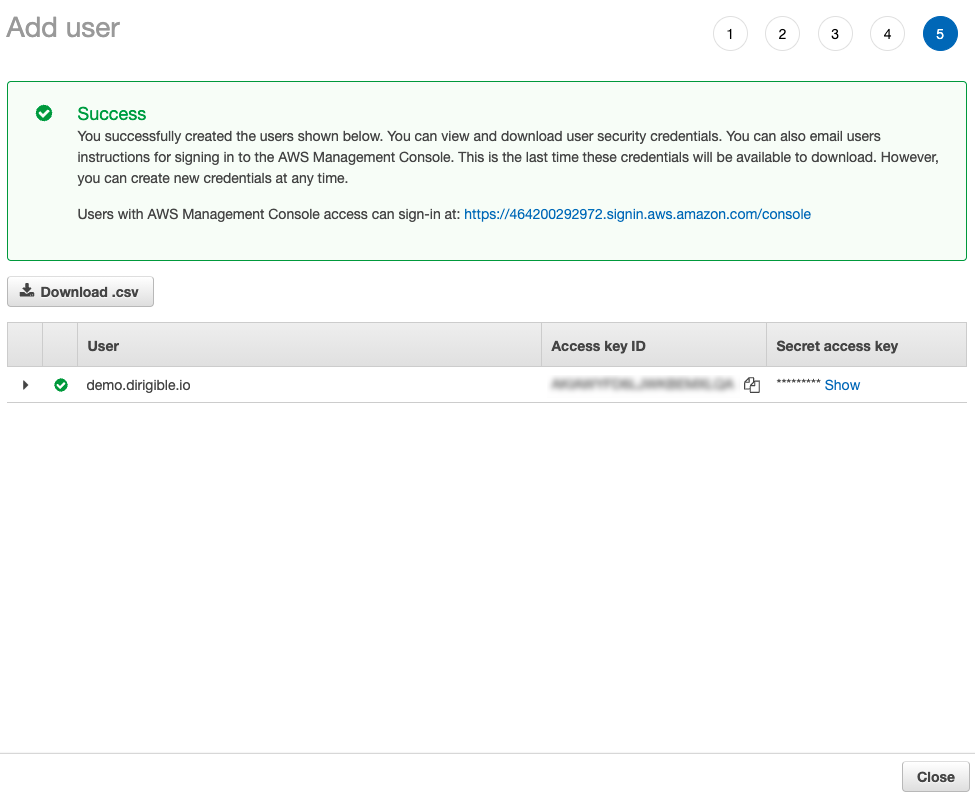
Create new user - which will provide to Gardener dns provider.
- When you create user select credential type to be
Access key - Programmatic access( you see the image below).
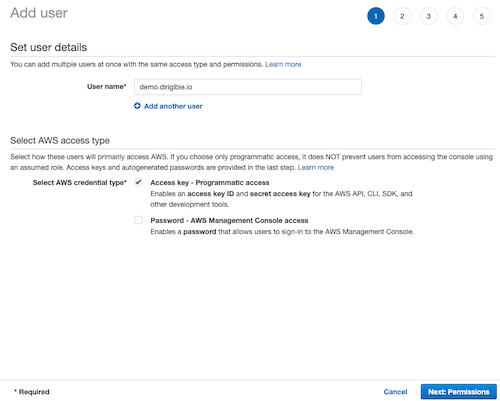
- When you create user select credential type to be
-
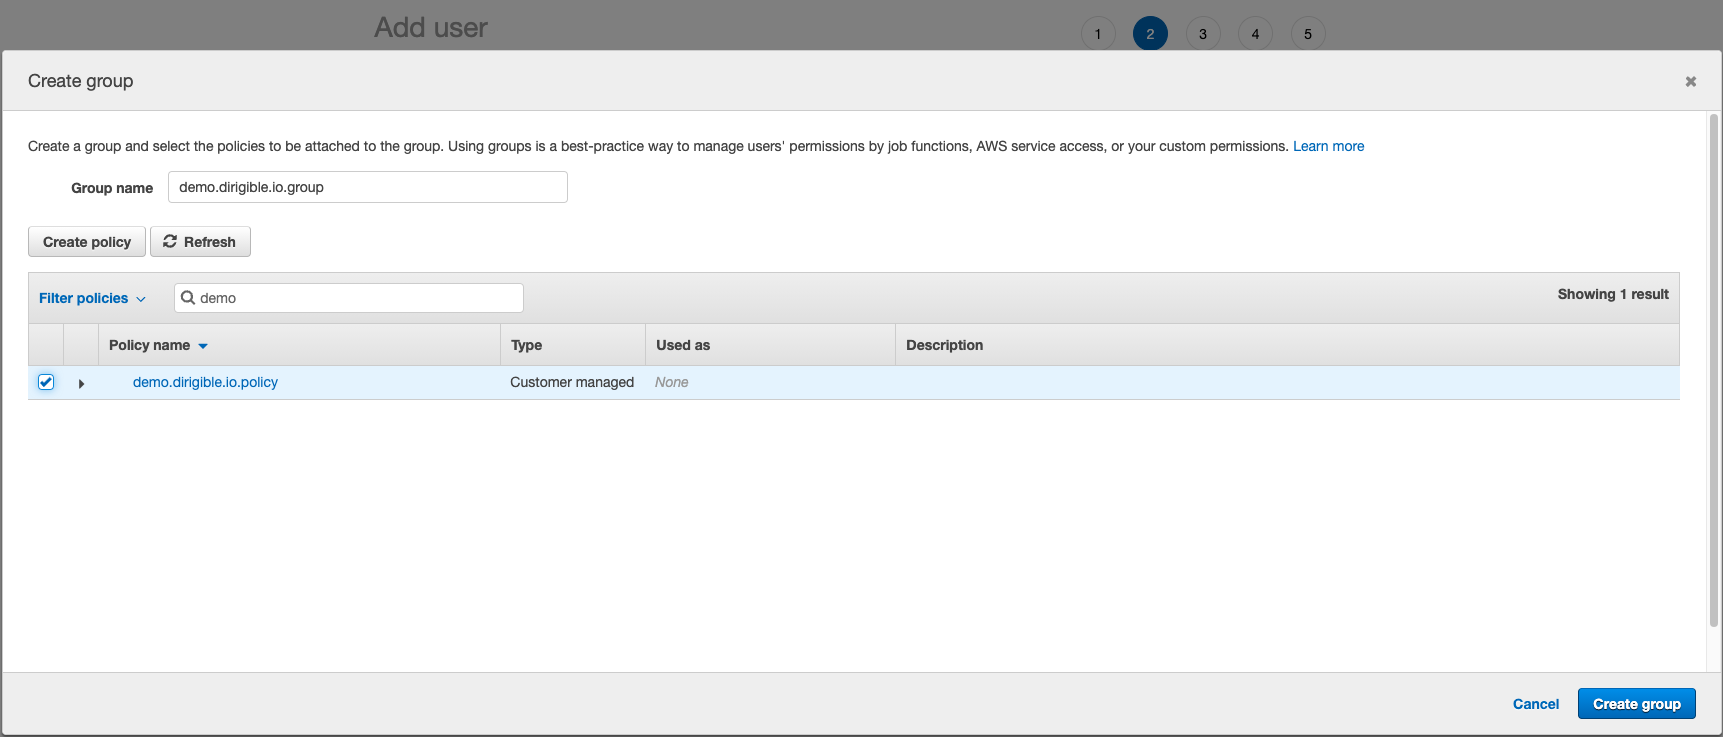
Create group - add user to group, but for this scenario we need to create new group which will be using only for this purpose. That's why, click on
Create groupand it will open new tab to create the group.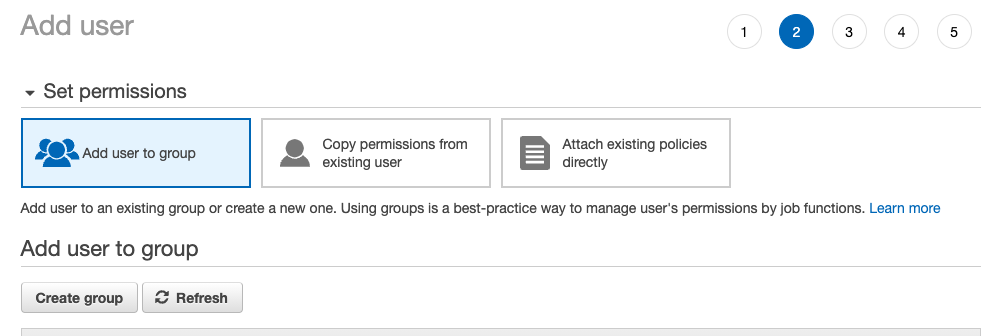
-
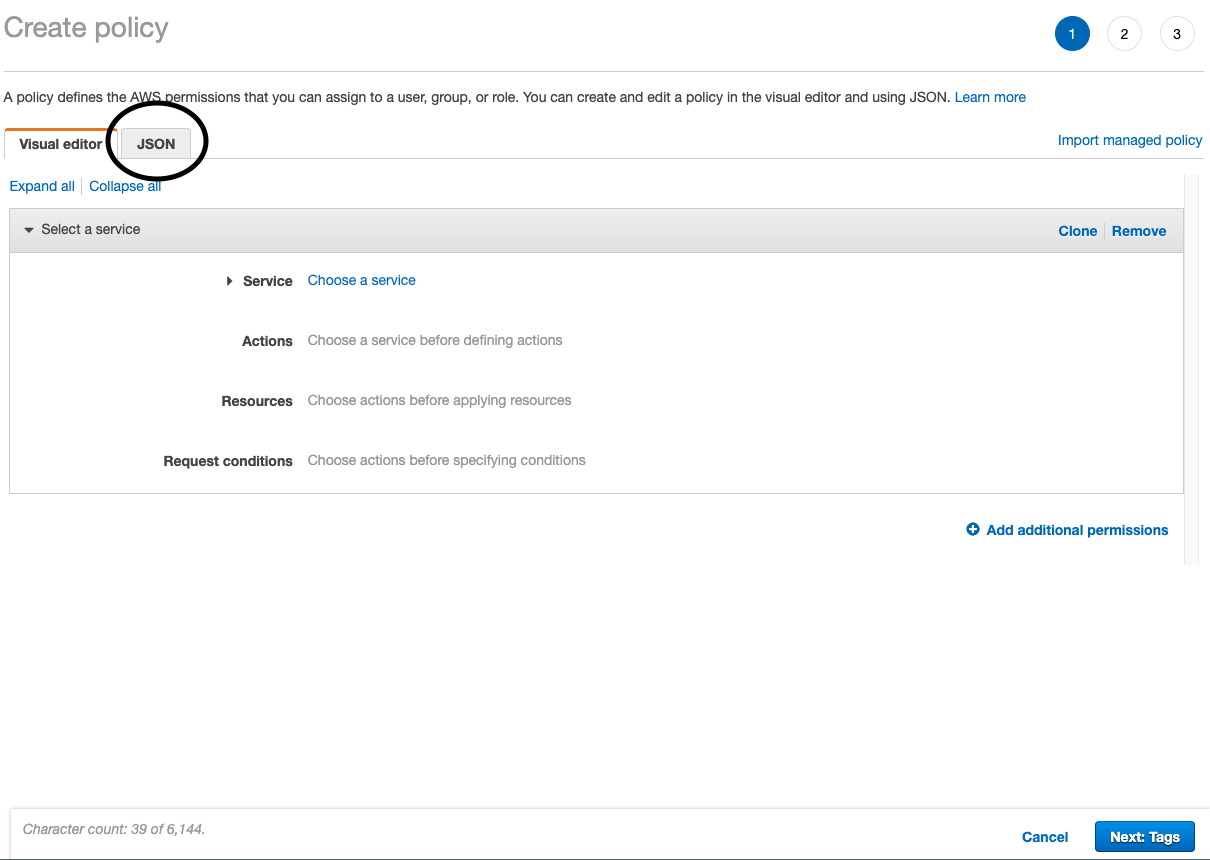
Create Policy - before you create the new group click on
Create policyit will open new tab to create the policy.
- On the first step click on the JSON see the image below:
- Leave this tab open and find your
Hosted zone IDsee the image below:
- Add your hosted zone id to the JSON you can use this example json
{
    "Version": "2012-10-17",
    "Statement": [
        {
            "Sid": "VisualEditor0",
            "Effect": "Allow",
            "Action": "route53:ListResourceRecordSets",
            "Resource": "arn:aws:route53:::hostedzone/*"
        },
        {
            "Sid": "VisualEditor1",
            "Effect": "Allow",
            "Action": "route53:GetHostedZone",
            "Resource": "arn:aws:route53:::hostedzone/Z2XXXXXXXXXXXX"
        },
        {
            "Sid": "VisualEditor2",
            "Effect": "Allow",
            "Action": "route53:ListHostedZones",
            "Resource": "*"
        },
        {
            "Sid": "VisualEditor3",
            "Effect": "Allow",
            "Action": "route53:ChangeResourceRecordSets",
            "Resource": "arn:aws:route53:::hostedzone/Z2XXXXXXXXXXXX"
        }
    ]
}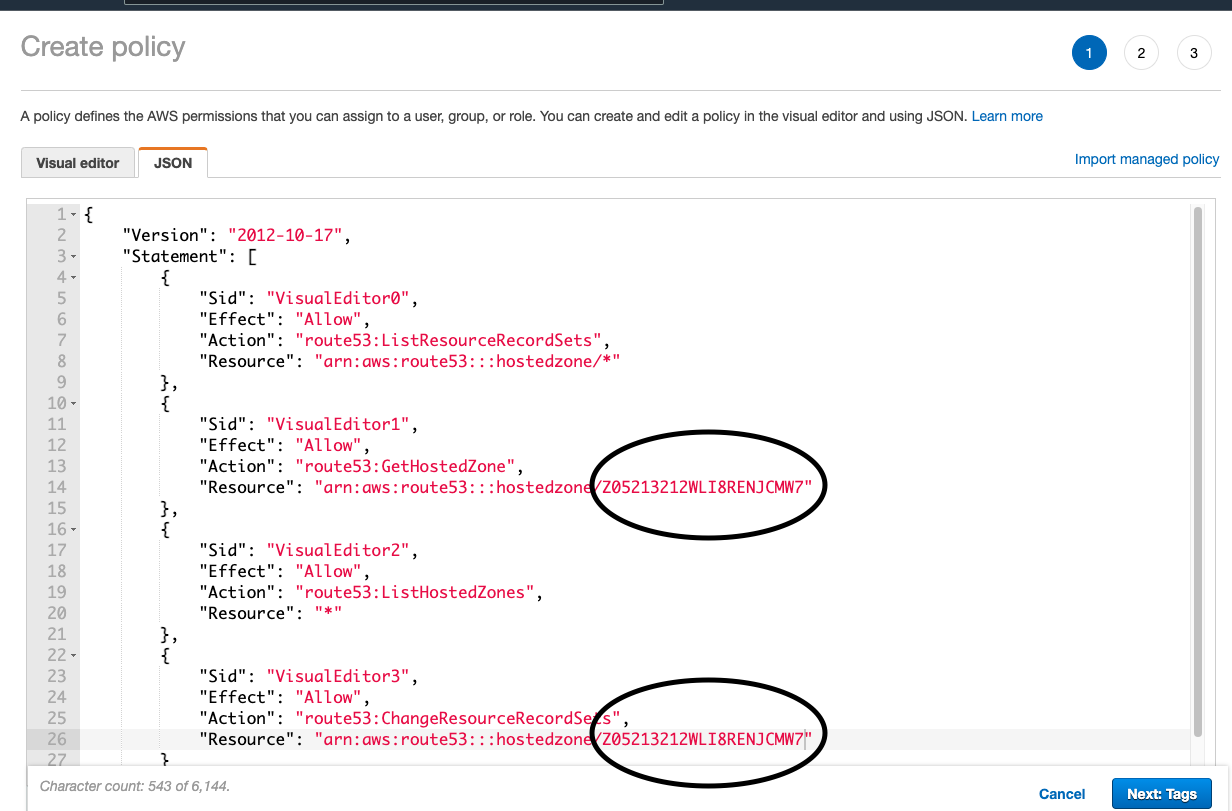
Note
It's very important to add your correct hosted zone id
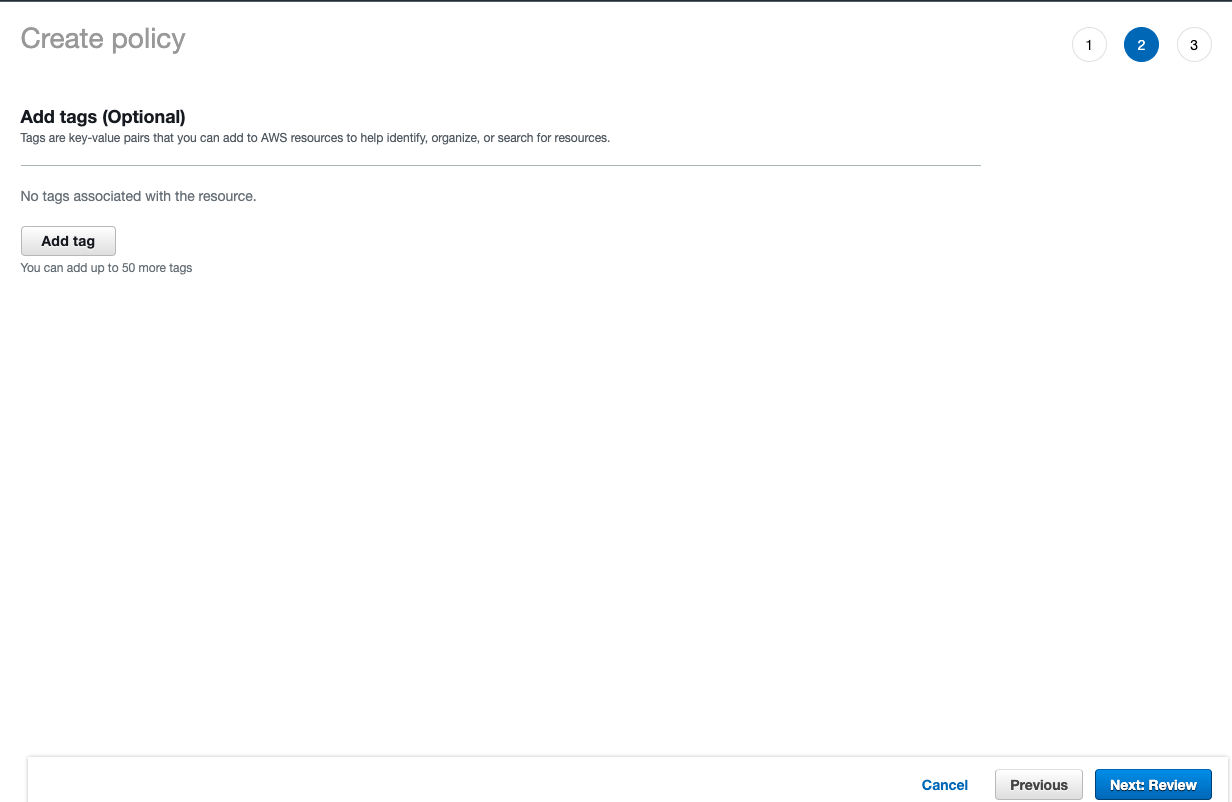
- We don't need tags, see image below:
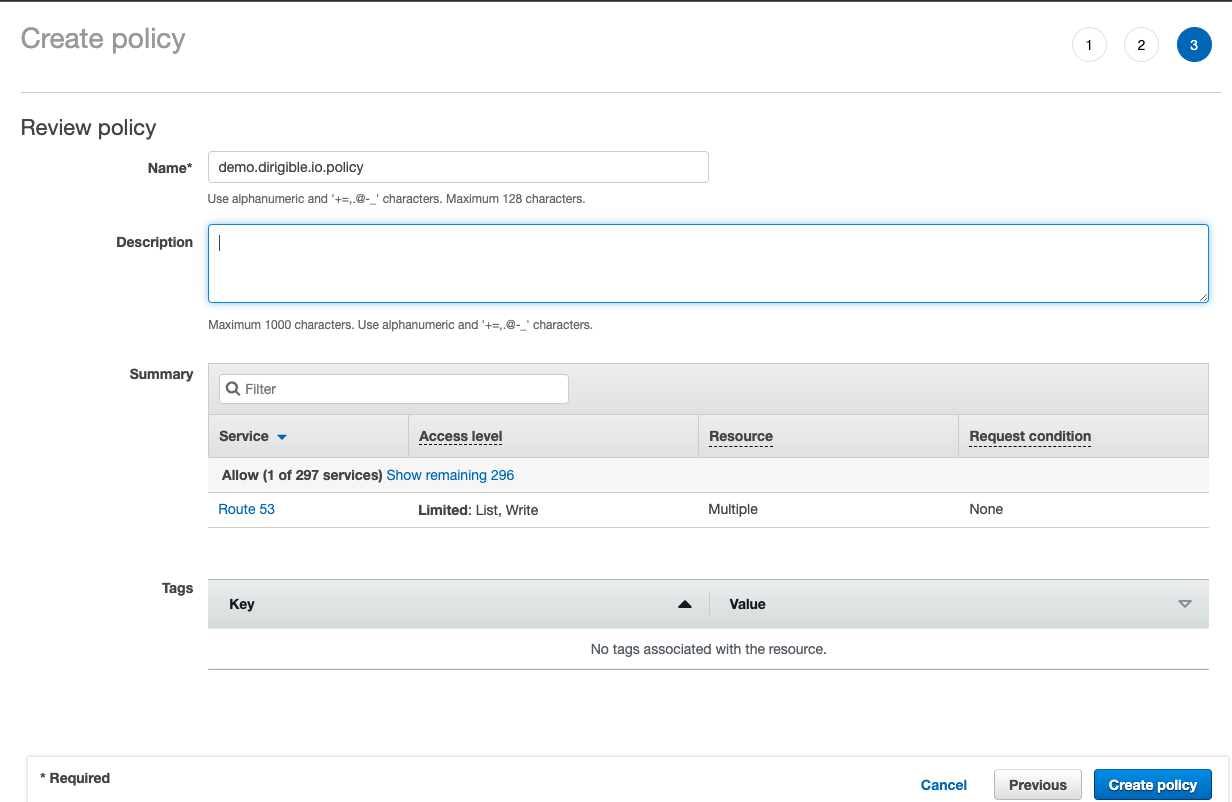
- Тype policy name, see image below:
- Add new policy to the group, see image below:
-
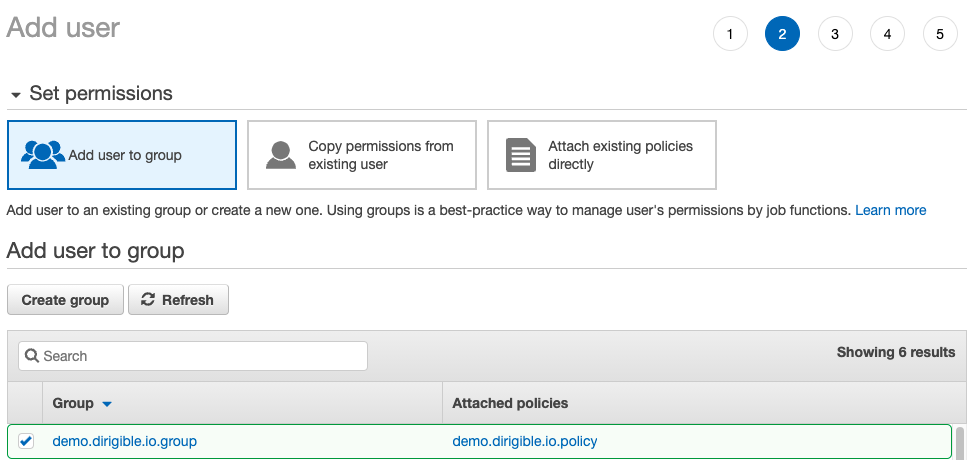
Add new group to the user.
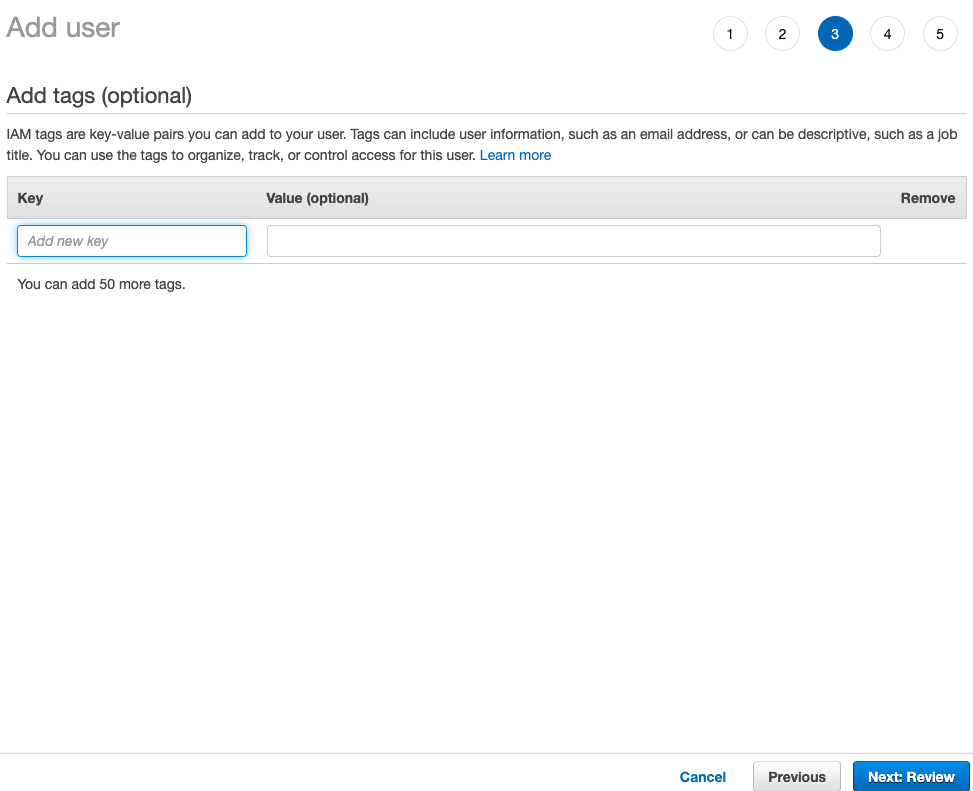
- We don't need tags:
Note
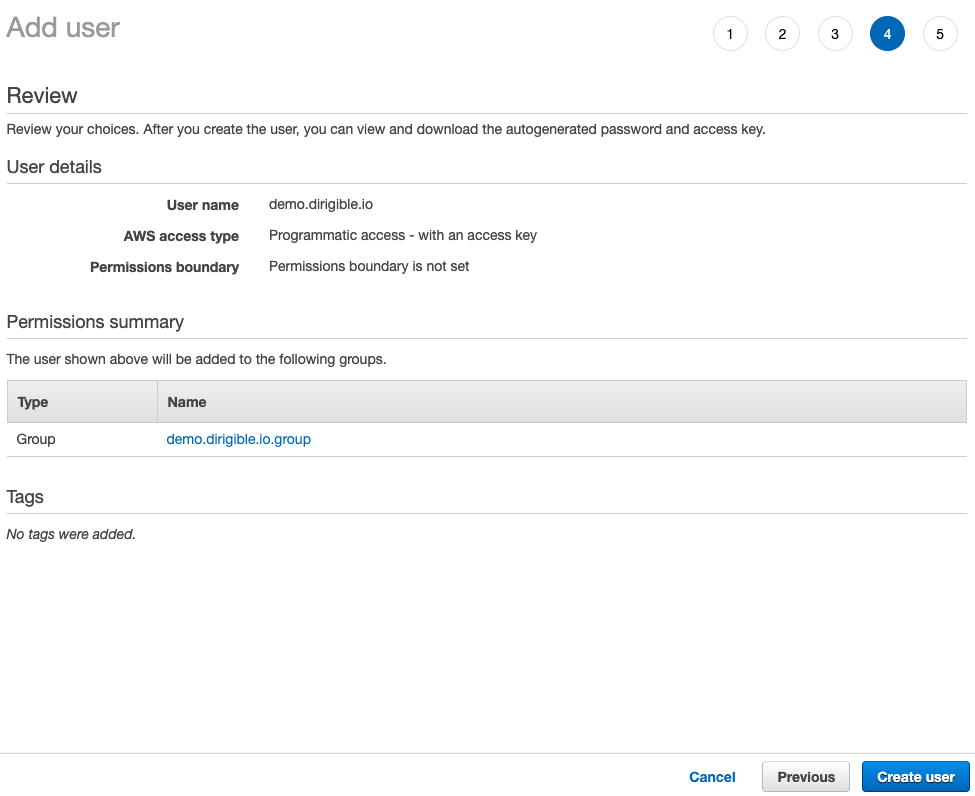
Before you click on create user check Permissions summary that consist your new group.
-
Download your access key.
Gardener Configuration
-
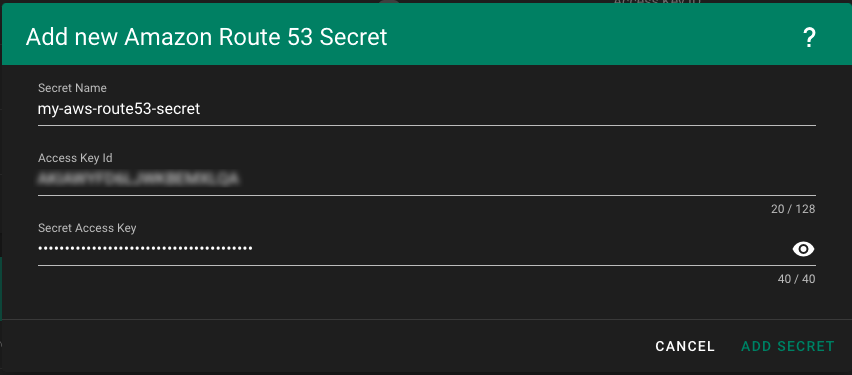
Provide AWS Route 53 credentials - we need to provide our AWS Route 53 credentials from the previous step:
-
Add gardener extensions to the Shoot cluster - configure dns and
Let's Encryptcertificate.- Open
Gardener Shootyaml file and add DNS providers -shoot-dns-service,shoot-cert-service:
spec: dns: providers: - secretName: my-aws-route53-secret type: aws-route53 extensions: - type: shoot-dns-service providerConfig: apiVersion: service.dns.extensions.gardener.cloud/v1alpha1 kind: DNSConfig dnsProviderReplication: enabled: true - type: shoot-cert-service providerConfig: apiVersion: service.cert.extensions.gardener.cloud/v1alpha1 issuers: - email: <your-email-here> name: <type-name-for-the-issue> server: 'https://acme-v02.api.letsencrypt.org/directory' - Open
-
Create subdomain for your application - we can use DNSEntry for Gardener, because in Gardener Shoot yaml file we configured:
dnsProviderReplication: enabled: true- Find Istio ingress gateway external ip:
kubectl get services istio-ingressgateway -n istio-system \ --output jsonpath='{.status.loadBalancer.ingress[0].hostname}'apiVersion: dns.gardener.cloud/v1alpha1 kind: DNSEntry metadata: annotations: dns.gardener.cloud/class: garden name: dns-entry namespace: default spec: dnsName: "app.demo.dirigible.io" ttl: 600 targets: - <type-here-the-result-from-previous-command>
Istio Configuration
We need to configure our istio ingress gateway to accept our new sub domain app.demo.dirigible.io and the certificate.
-
Apply the dns configuration and certificate - in this article we will configure istio ingress gateway to accept wildcard certificate.
kubectl edit svc istio-ingressgateway -n istio-system# Please edit the object below. Lines beginning with a '#' will be ignored, # and an empty file will abort the edit. If an error occurs while saving this file will be # reopened with the relevant failures. # apiVersion: v1 kind: Service metadata: annotations: cert.gardener.cloud/issuer: app.demo.dirigible.io cert.gardener.cloud/secretname: wildcard-tls dns.gardener.cloud/class: garden dns.gardener.cloud/dnsnames: '*.demo.dirigible.io' dns.gardener.cloud/ttl: "120" -
Gateway configuration - configure
GatewayandVirtualServicefor Dirigible application or any.apiVersion: networking.istio.io/v1alpha3 kind: Gateway metadata: name: dirigible spec: selector: istio: ingressgateway servers: - port: number: 80 name: http protocol: HTTP tls: httpsRedirect: true hosts: - "app.demo.dirigible.io" - port: number: 443 name: https protocol: HTTPS tls: mode: SIMPLE credentialName: wildcard-tls hosts: - "app.demo.dirigible.io" --- apiVersion: networking.istio.io/v1alpha3 kind: VirtualService metadata: name: dirigible spec: hosts: - "app.demo.dirigible.io" gateways: - dirigible http: - match: - uri: regex: /.* route: - destination: host: dirigible port: number: 8080