Java Remote Debugging
Debugging
To connect for remote java debugging of Eclipse Dirigible, follow the next steps:
-
Start the Dirigible executable JAR with the JDWP agent enabled. The runtime ships as a self-contained Spring Boot fat JAR (
dirigible-application-*-executable.jarunderbuild/application/target/), so the standard-agentlib:jdwp=...JVM flag is all that is needed:Start Dirigible with the JDWP agent
java -agentlib:jdwp=transport=dt_socket,server=y,suspend=n,address=8000 \
  -jar build/application/target/dirigible-application-*-executable.jar
java -agentlib:jdwp=transport=dt_socket,server=y,suspend=n,address=8000 ` -jar build/application/target/$((Get-ChildItem dirigible-application-*-executable.jar -recurse -File | Sort-Object LastWriteTime | Select -Last 1).BaseName).jarRun the docker image with Java Debugging Options as described here.
The JVM will listen for debugger attaches on port 8000 (configurable via the
address=part of the agent string). Usesuspend=yinstead ofsuspend=nif you need the JVM to wait for the debugger before continuing startup.
-
Create new
Debug Configuration: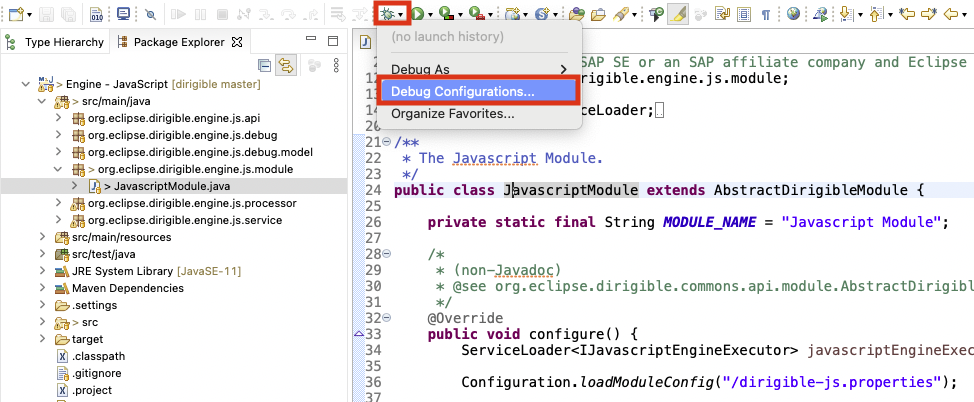
-
New
Remote Java Applicationconfiguration:Note
- Double click on the
Remote Java Applicationto create new configuration. - Update the
hostandportproperties, if needed.
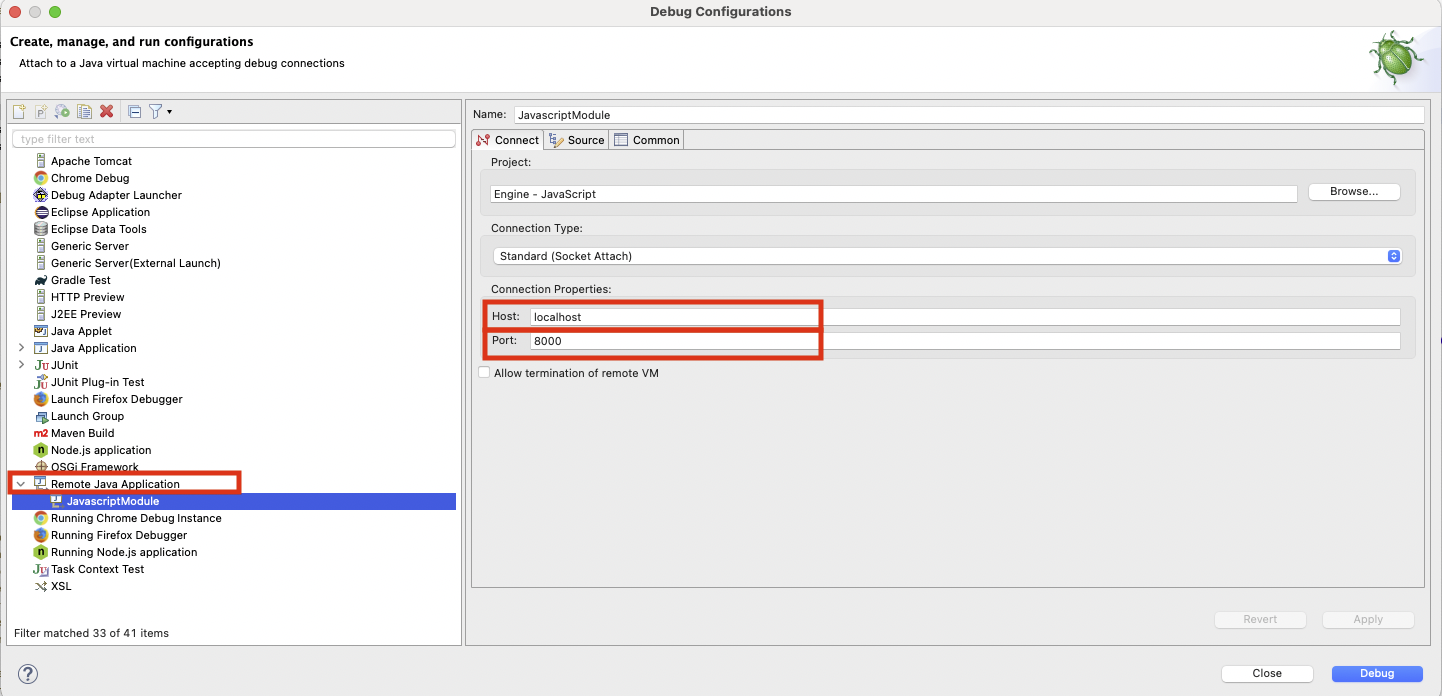
- Double click on the
-
Press the
Debugbutton to start new remote debug session.
-
Create new
Debug Configurationfrom theEdit Configurations..option:
-
Add new
Remote JVM Debugconfiguration using the+button and double click onRemote JVM Debug: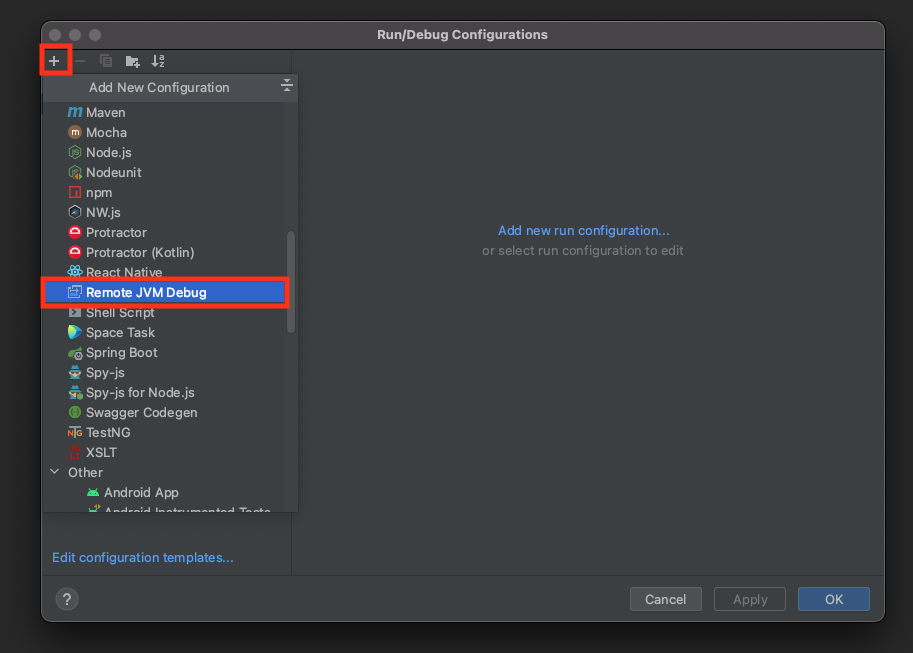
-
Use the configuration provided on the screenshot below, update the
hostandportproperties if needed:
-
Press the
Debugbutton to start new remote debug session.