Generate Application from Datasource
This tutorial will guide you through the creation of an Entity Data Model (EDM) and the generation of a full-stack Dirigible application from datasource. We will be using MySQL for that purpose but Eclipse Dirigible supports other databases as well.
Prerequisites
- Access to the latest version of Eclipse Dirigible (10.2.7+)
- Docker Image setup (follow the steps below)
Steps
Pull the Docker Image
-
Pull the official Eclipse Dirigible Docker Image to your local environment.
docker pull dirigiblelabs/dirigible:latest
Run the Docker Image
- Launch the Docker Image using the following command:
docker run --name dirigible --rm -p 8080:8080 -p 8081:8081 dirigiblelabs/dirigible:latest
- Optional If you want to use environment variables to automatically import your datasource prepare the following file:
my_env.list
DIRIGIBLE_DATABASE_CUSTOM_DATASOURCES=TUTORIAL
TUTORIAL_DRIVER=com.mysql.cj.jdbc.Driver
TUTORIAL_URL=jdbc:mysql://host.docker.internal/my_db
TUTORIAL_USERNAME=*my_username*
TUTORIAL_PASSWORD=*my_pass*
- Launch the Docker Image using the following command:
docker run --env-file ./my_env.list --name dirigible --rm -p 8080:8080 -p 8081:8081 dirigiblelabs/dirigible:latest
Add the Data Source
There are several ways how to to add a datasource (via the Web IDE, via Environment Variables, via *.datsource file):
Note
Note that this method may result in the loss of the datasource upon restart.
- Navigate to the
Databaseperspective
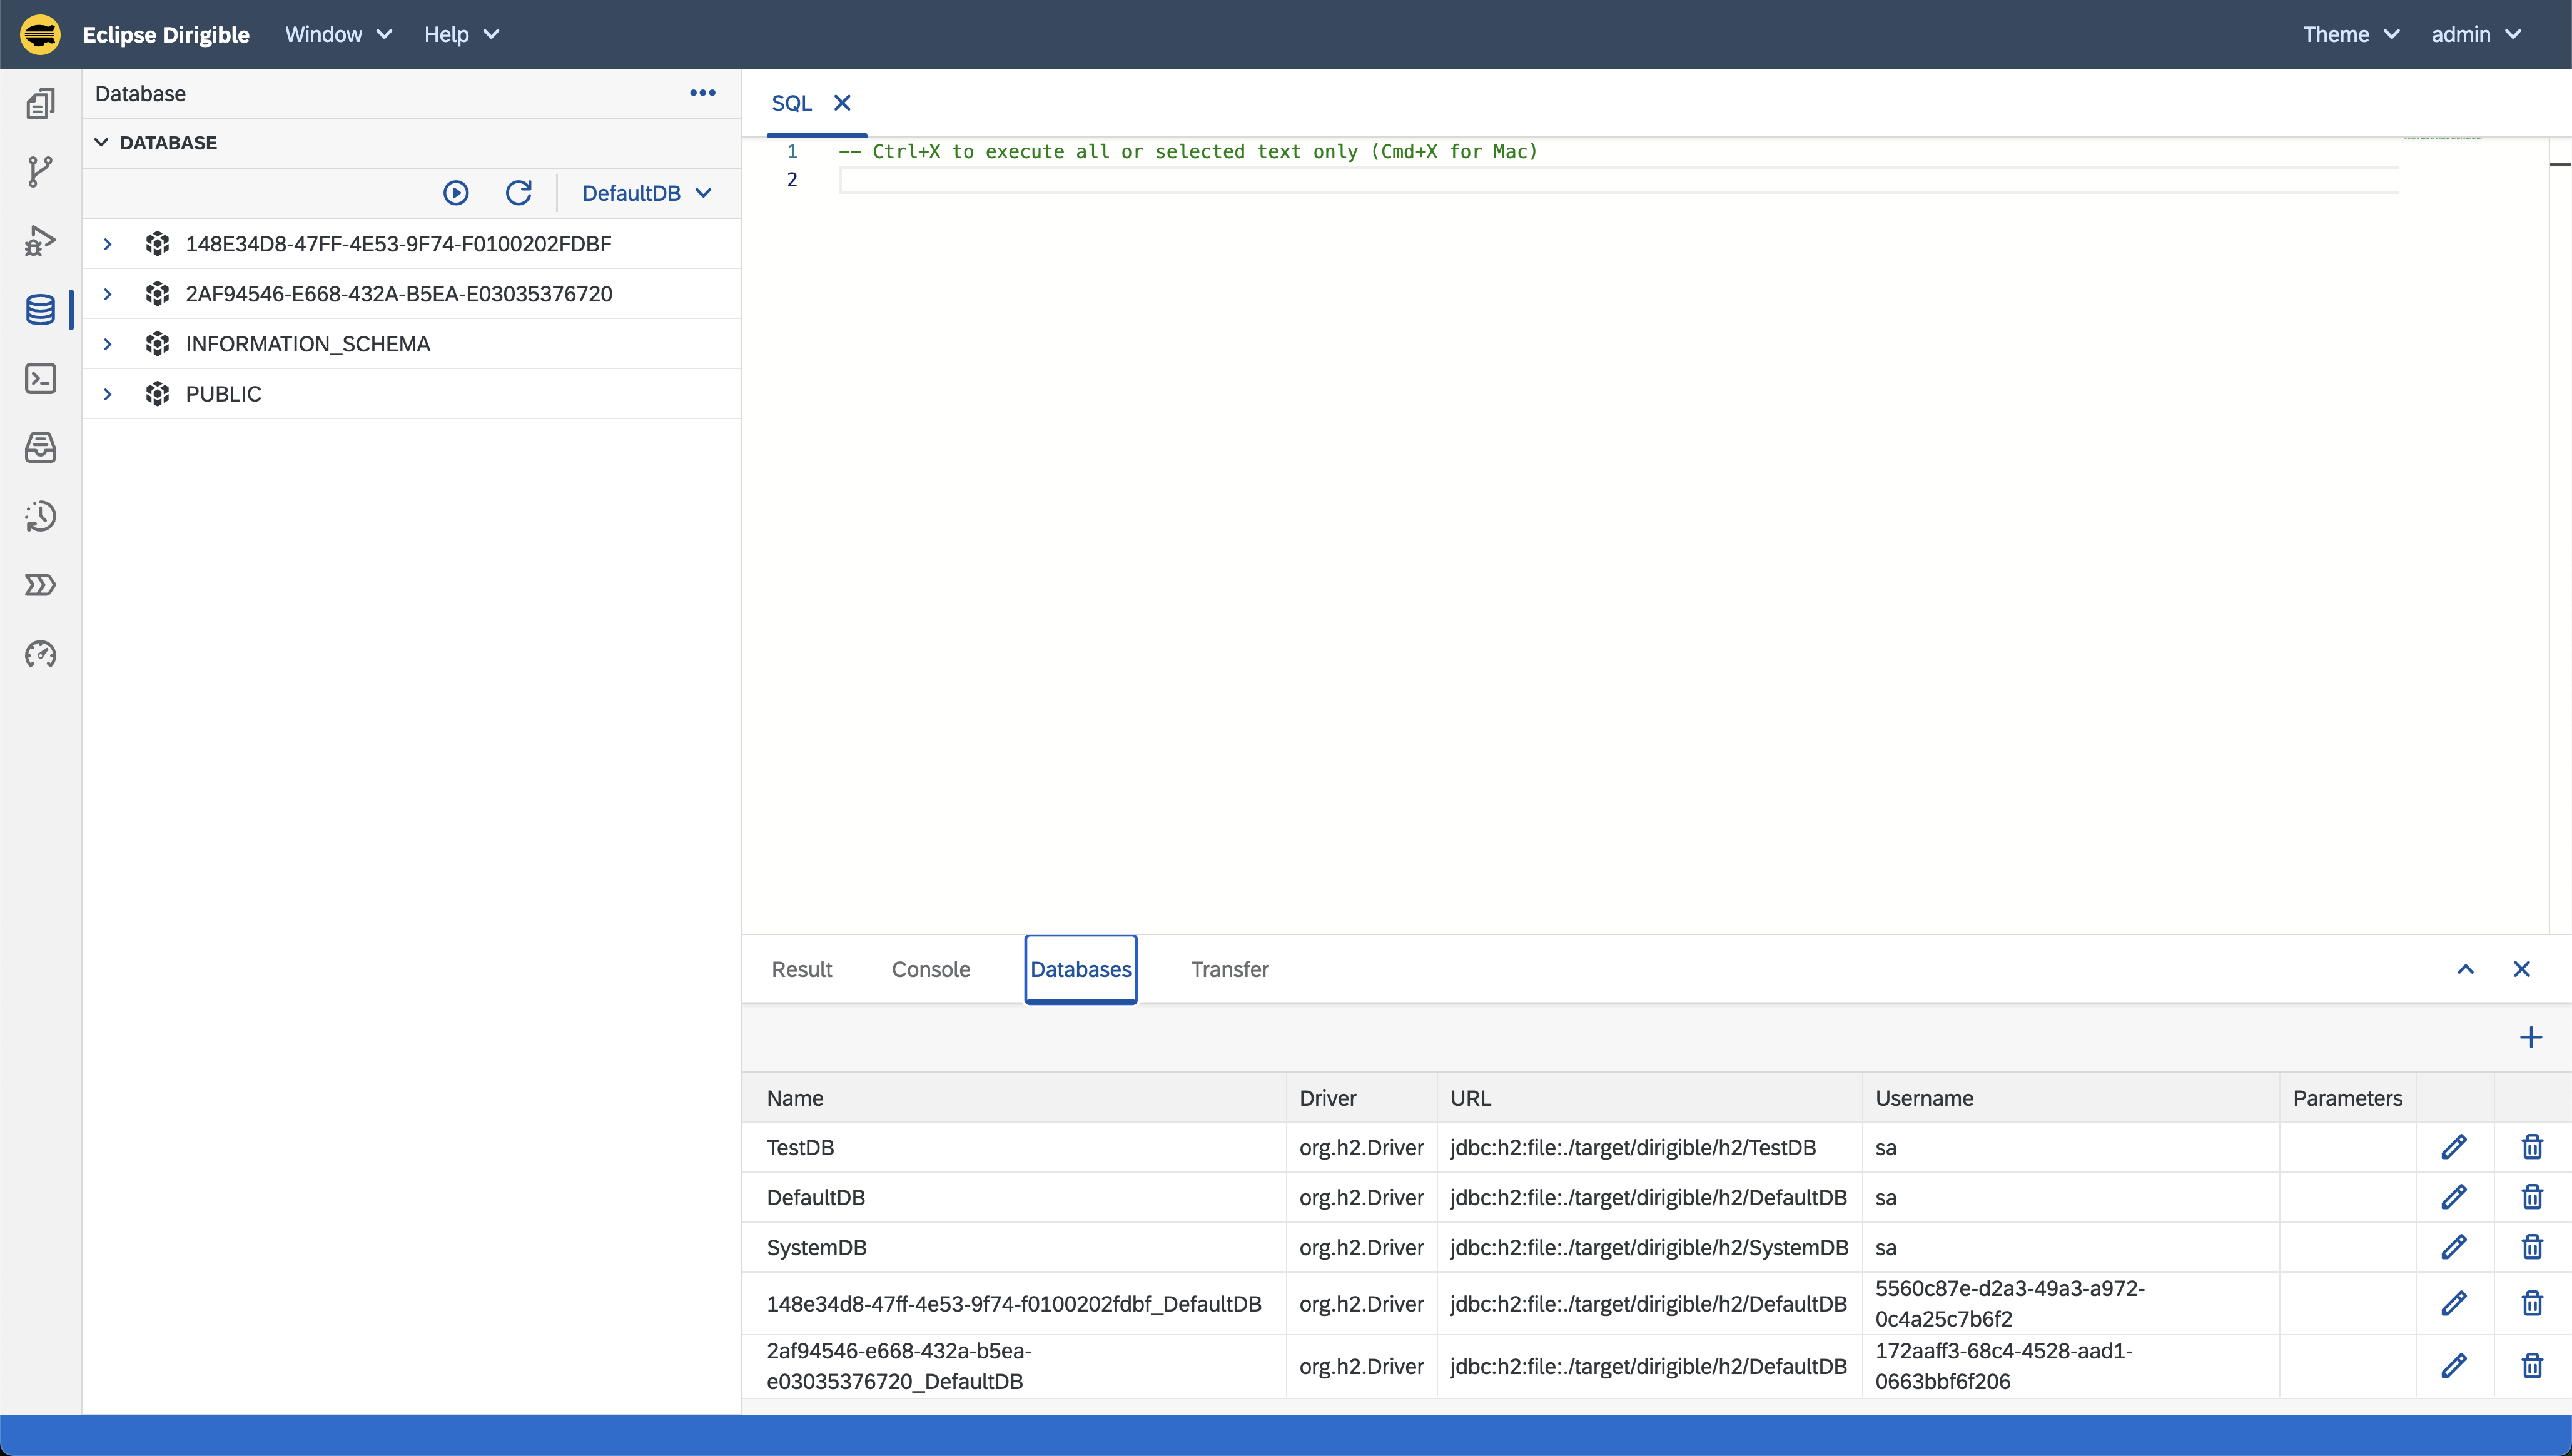
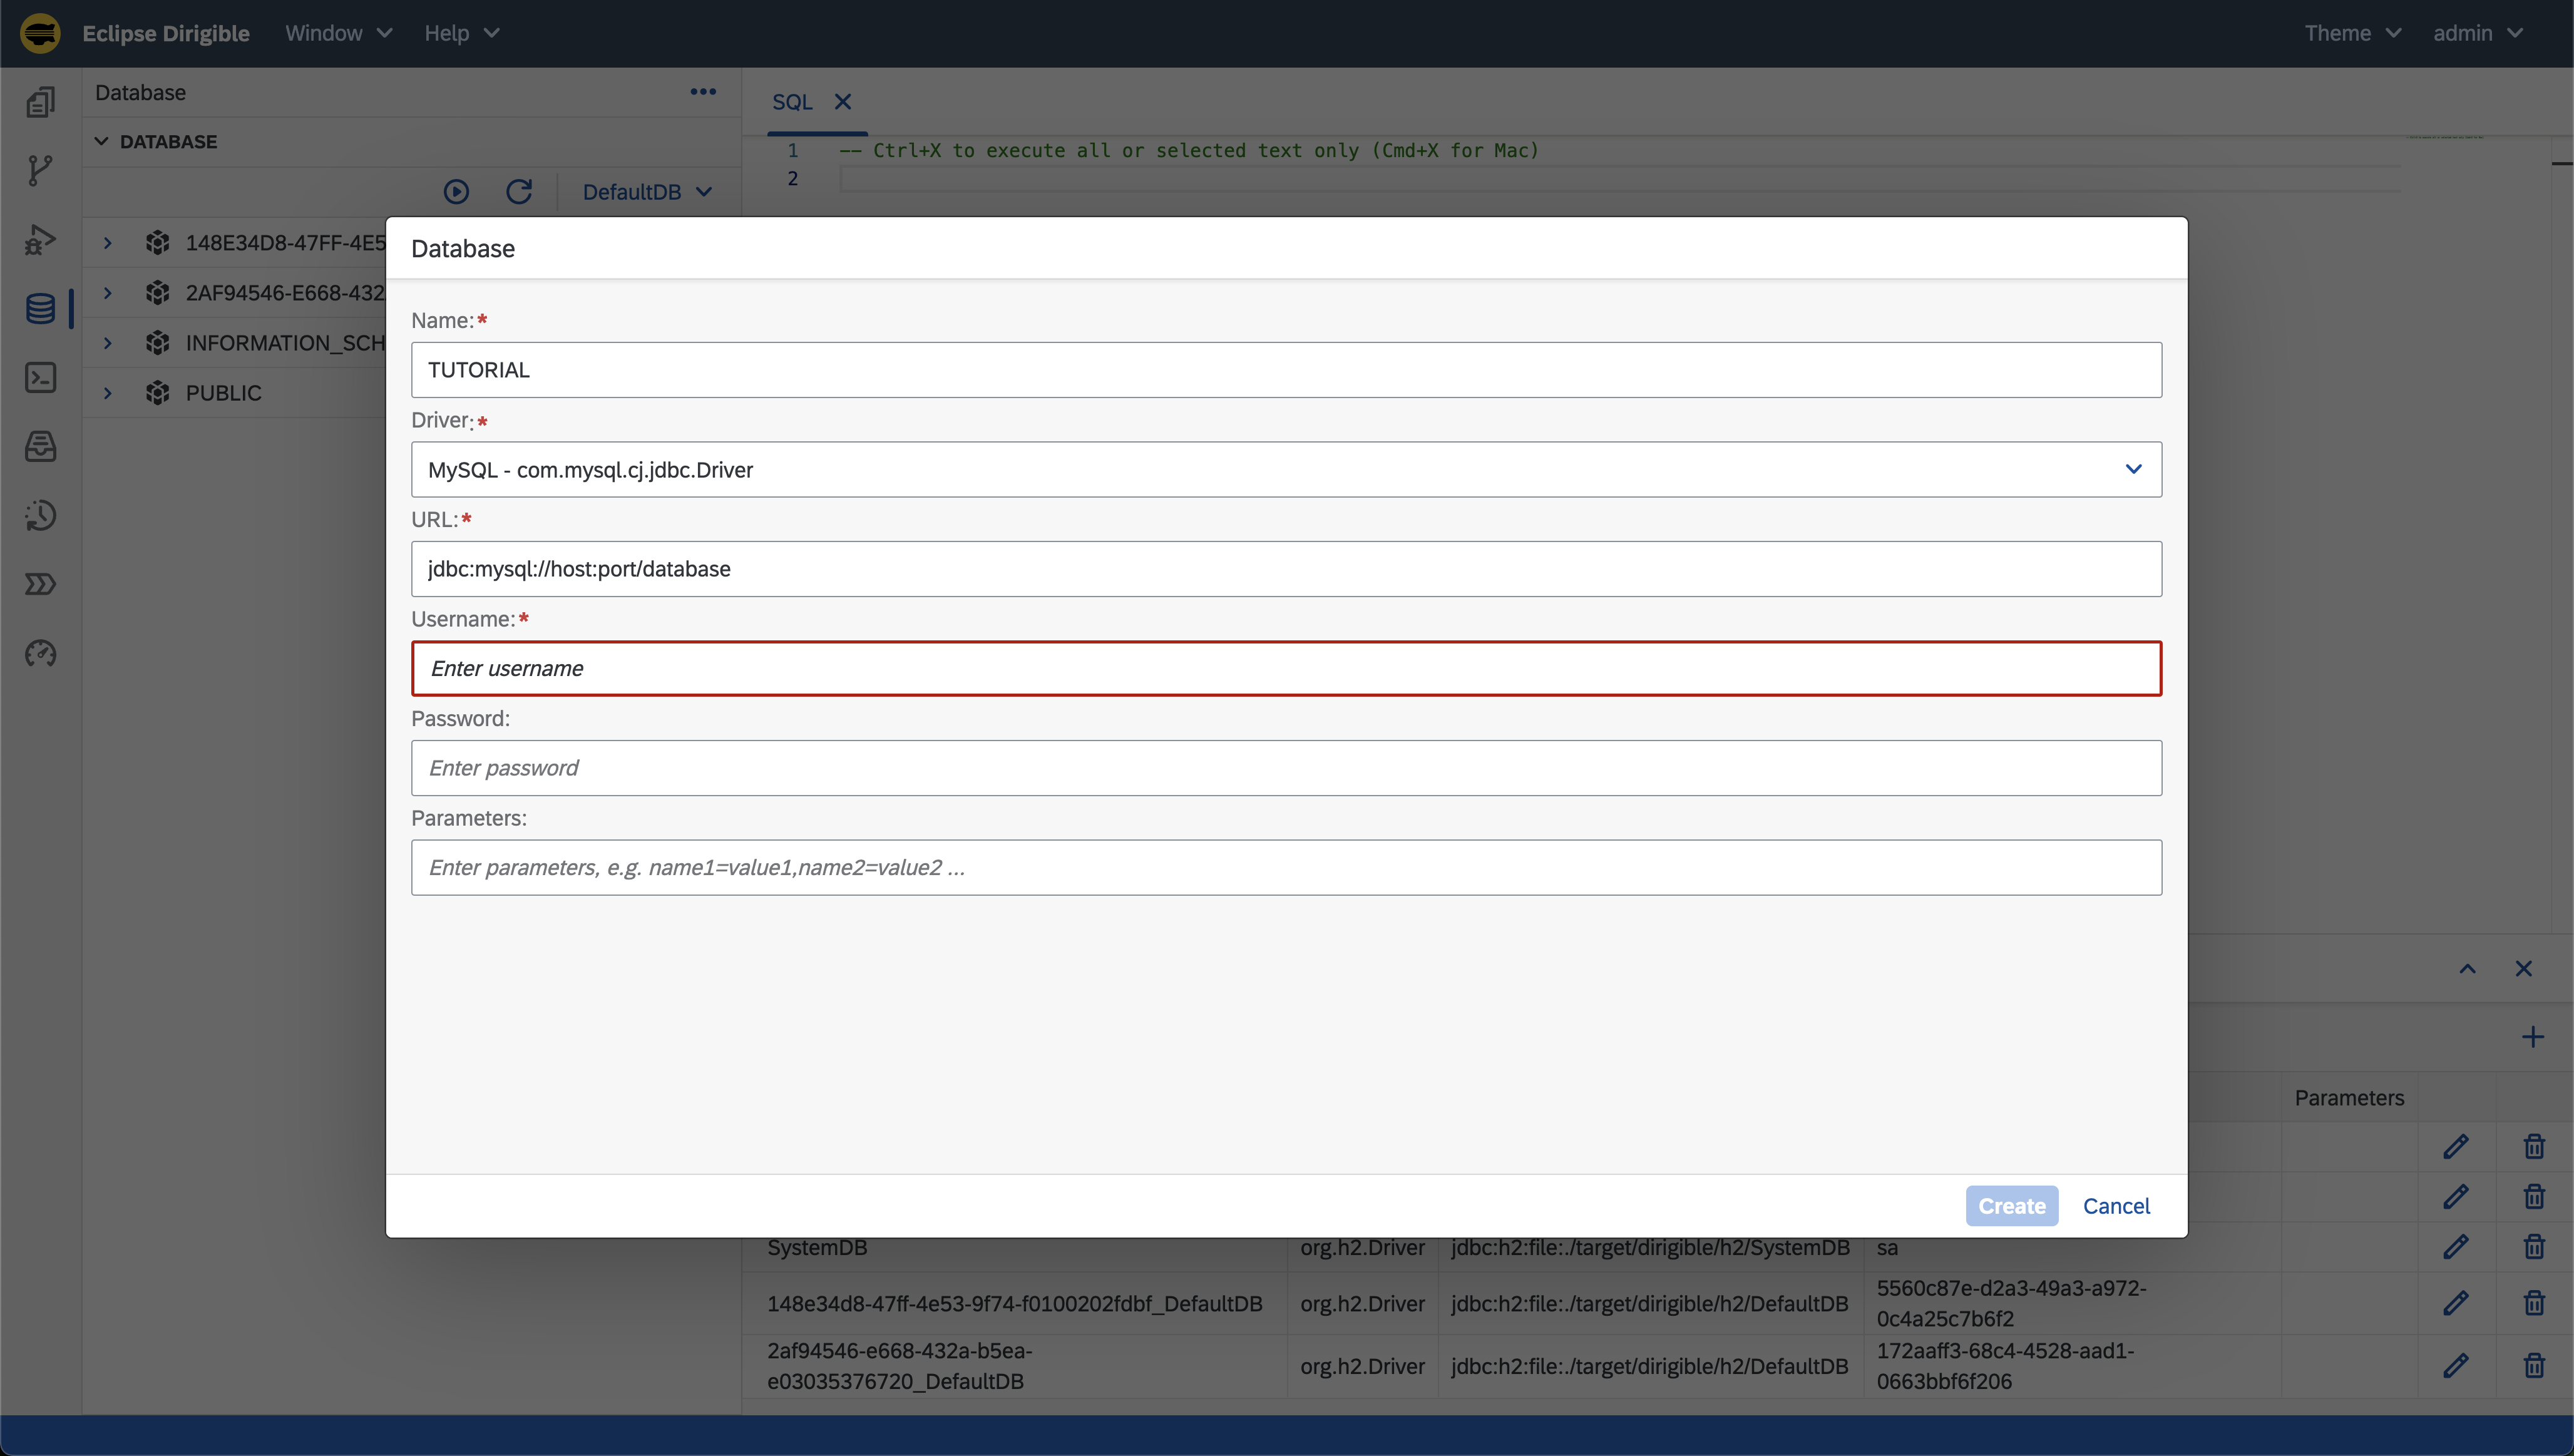
- In the bottom right corner select the
+sign and input the information for you datasource
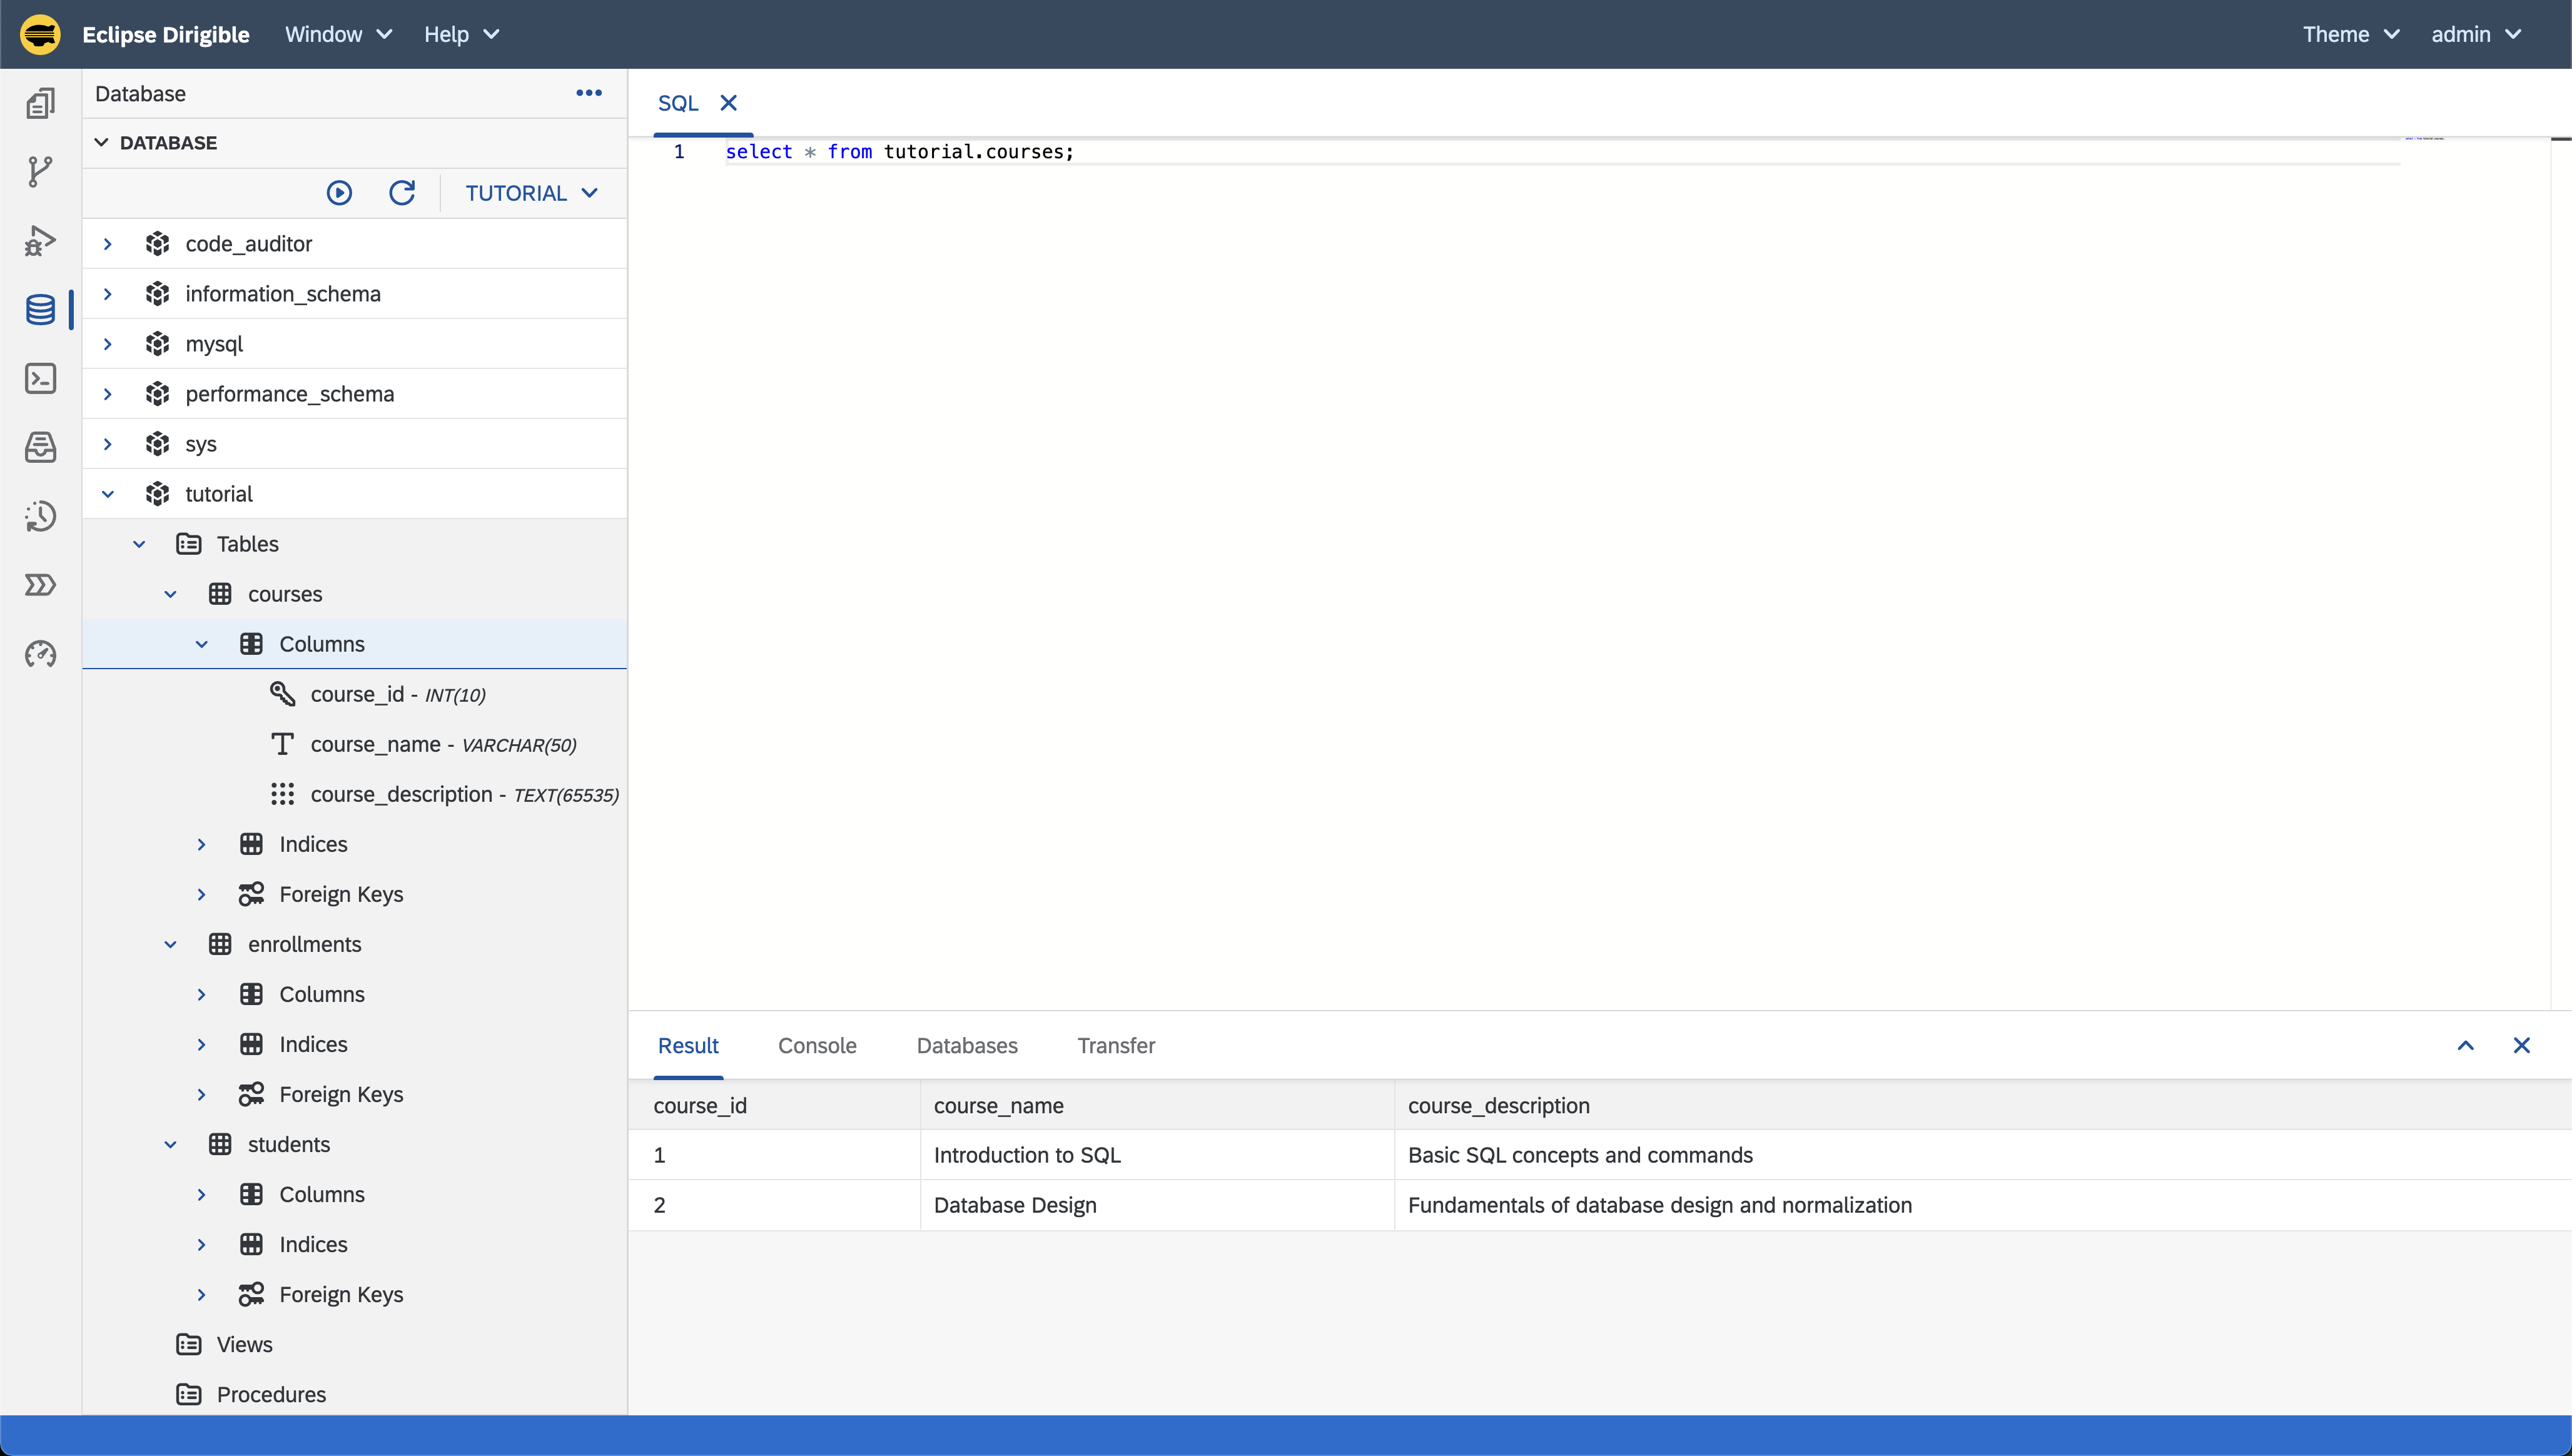
- Test your connection with a simple query
Set the following environment variables:
DIRIGIBLE_DATABASE_CUSTOM_DATASOURCES=<dataSourceName><dataSourceName>_DRIVER=com.mysql.cj.jdbc.Driver<dataSourceName>_URL=jdbc:mysql://host.docker.internal/my_db<dataSourceName>_USERNAME=*my_username*<dataSourceName>_PASSWORD=*my_pass*
Note
In the previous section the steps were explained in more details.
- Create a
*.datasourcefile in your application with the following content:{ "location": "/<projectName>/<path>/<dataSourceFileName>.datasource", "name": "<dataSourceName>", "driver": "com.mysql.cj.jdbc.Driver", "url": "jdbc:mysql://${MY_DB_HOST}:${MY_DB_PORT}/${MY_DB_NAME}", "username": "${MY_DB_USER}", "password": "${MY_DB_PASS}" }
Note
Replace the following placeholders:
/<projectName>/<path>/<dataSourceFileName>.datasourcewith the location of the datasource file in the application.<dataSourceName>with the name of the datasource.
Set the following environment variables:
- MY_DB_HOST - the database host.
- MY_DB_PORT - the database port.
- MY_DB_NAME - the database name.
- MY_DB_USER - the database user.
- MY_DB_PASS - the database password
Application Generation Steps
Once the datasource is added, proceed with the following steps to generate the application:
-
Right-click the database you want and select
Export Schema as Model.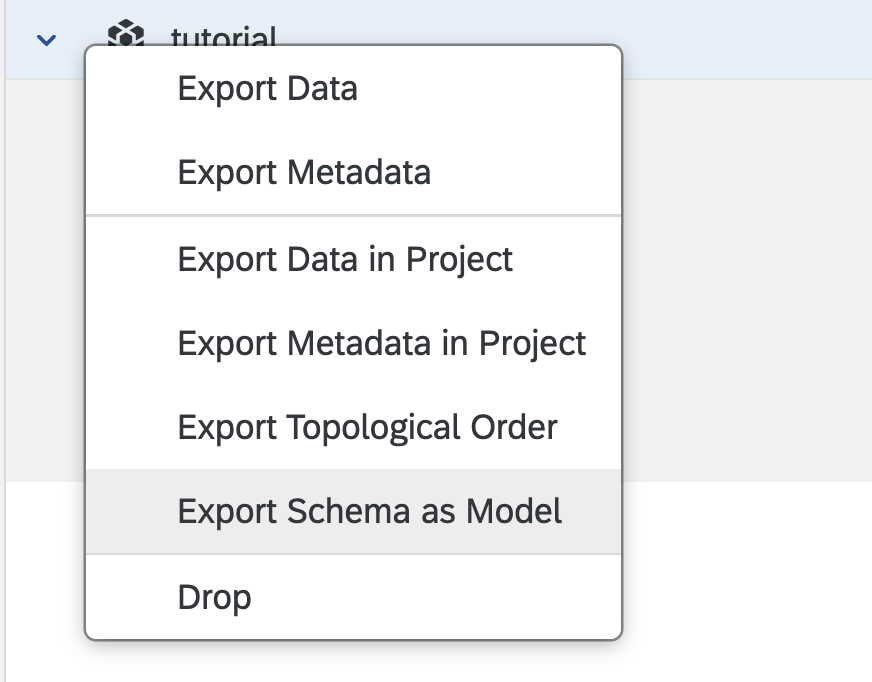
-
Navigate to the Workbench perspective and you should see a project and a
*.modelfile created from your database. -
Right click the
*.modelfile:- Click on the
Generateoption. - From the Generate from template pop-up select
Application - Full Stack.
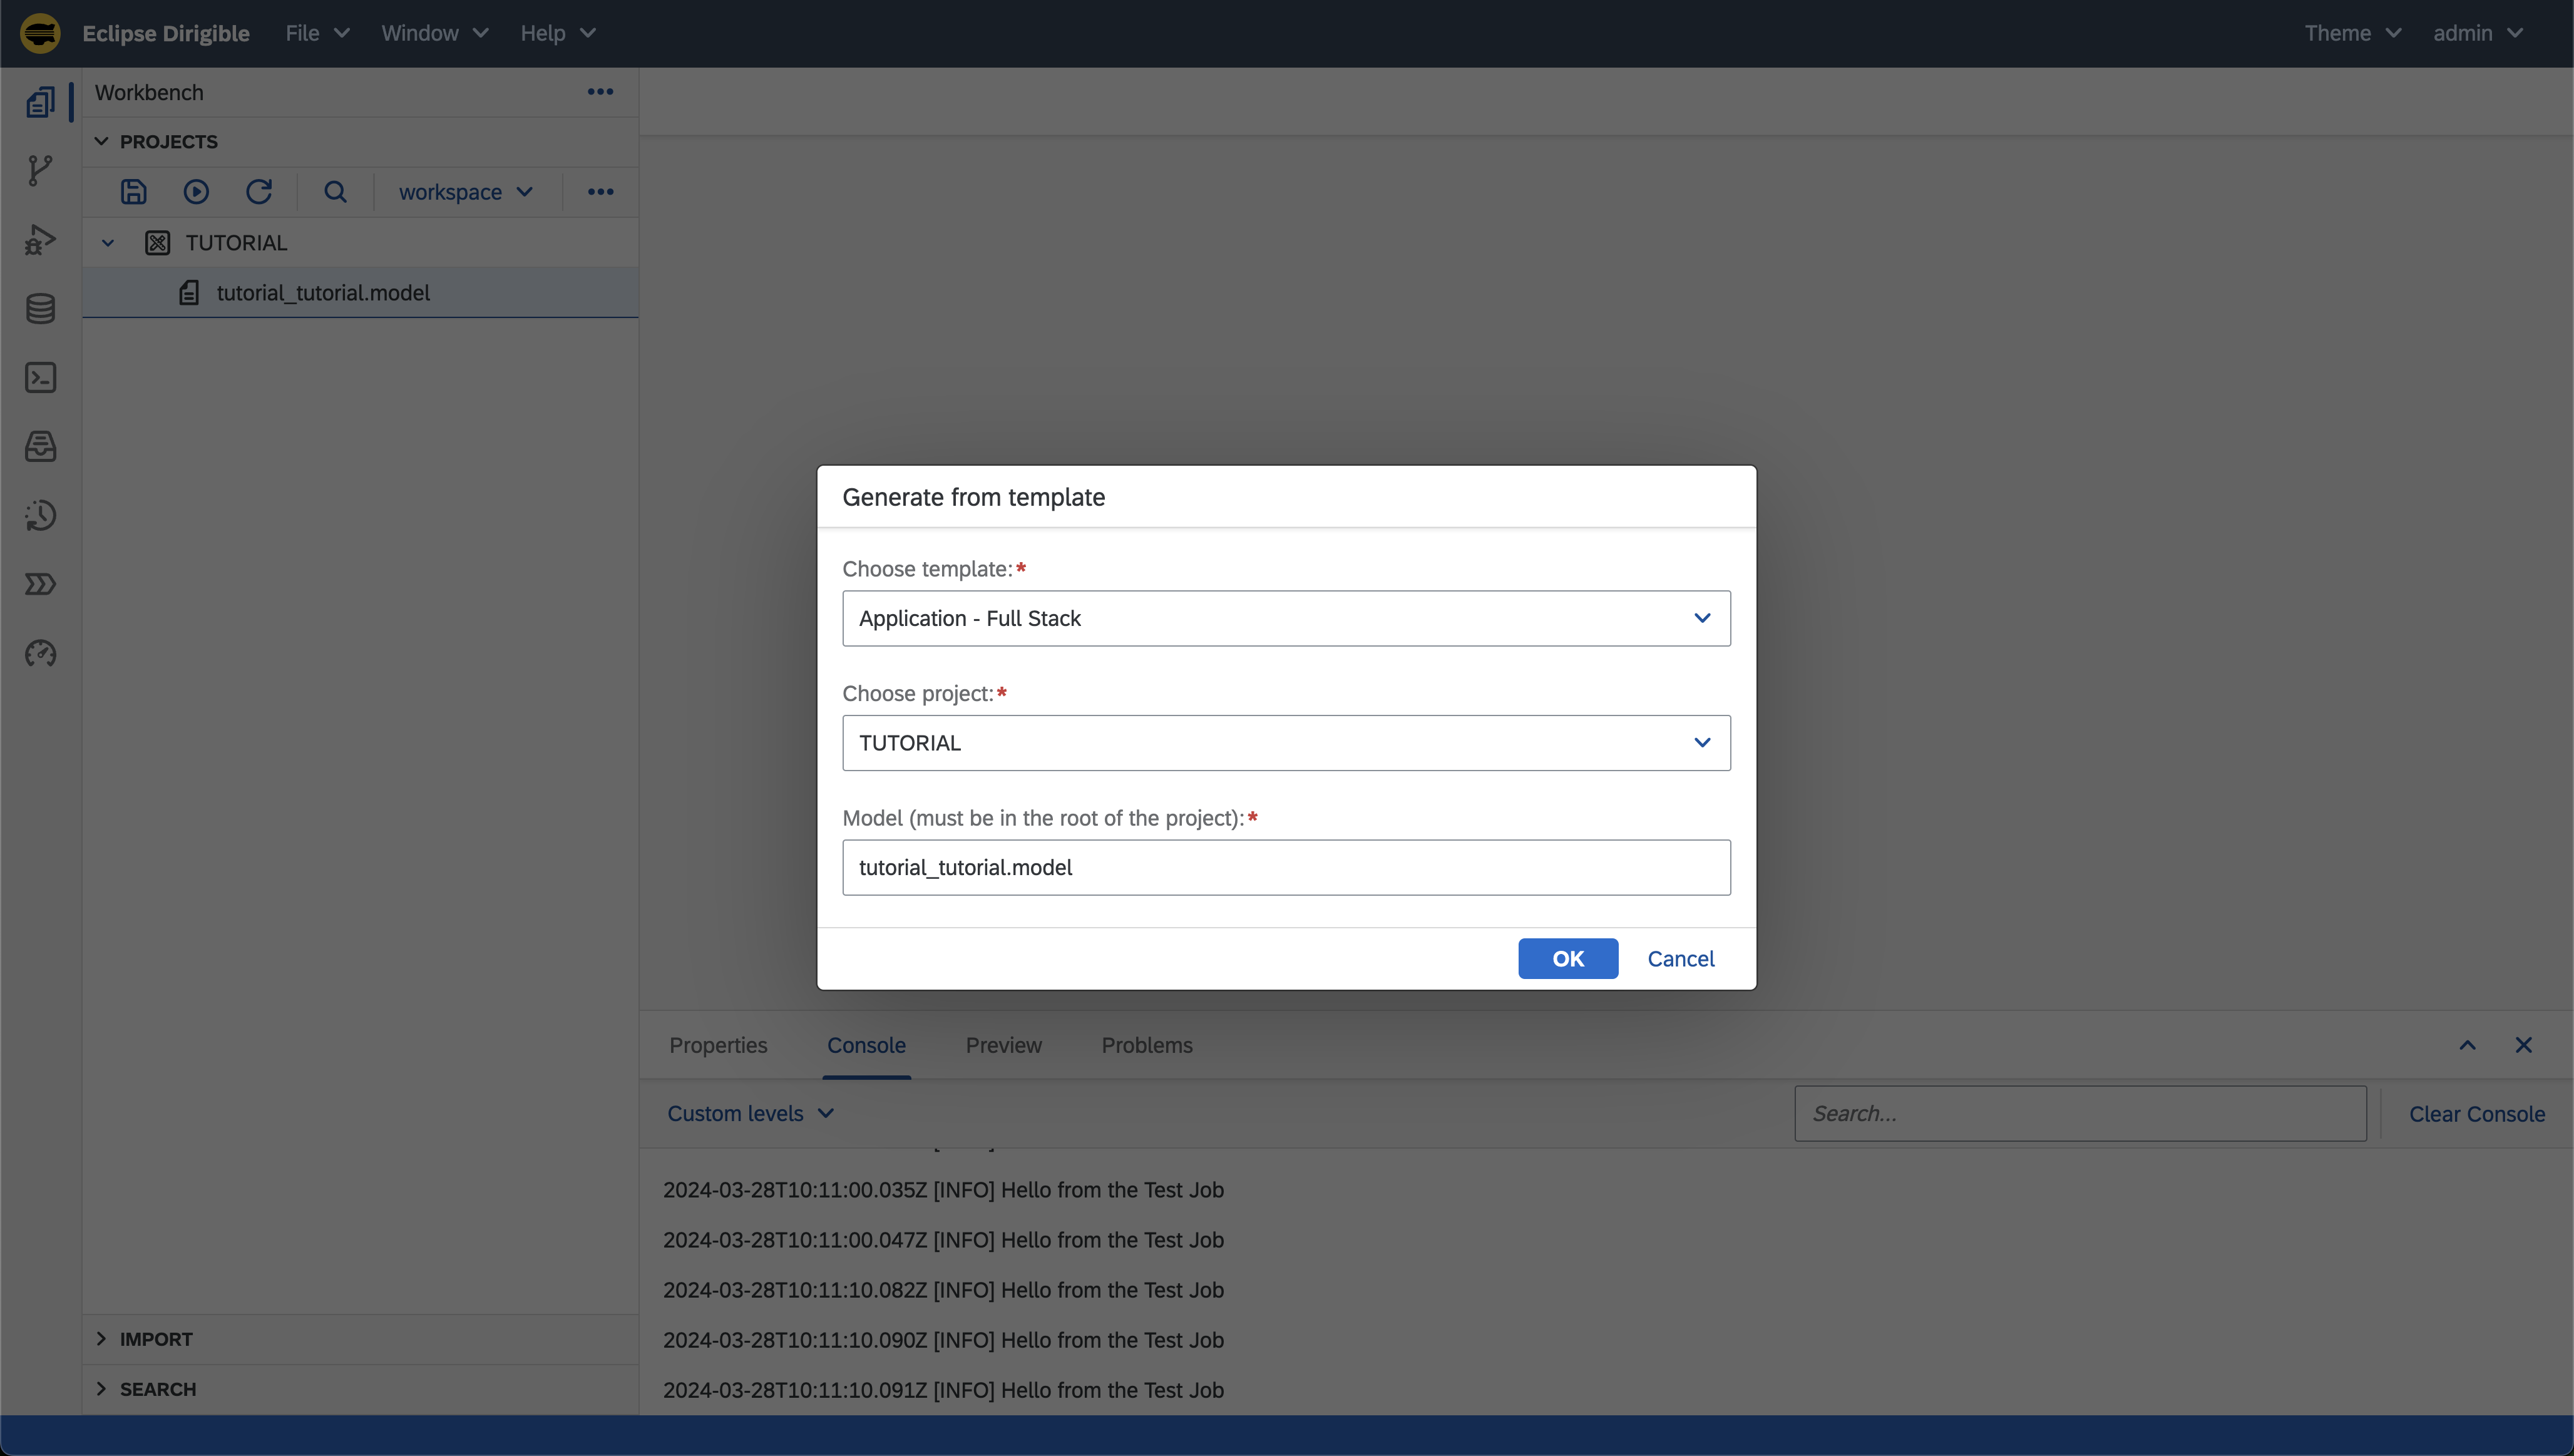
- Click on the
-
Input additional information for you application
Note
The
Data Sourcefield is where your records are going to be saved. For this tutorial we want to use our imported datasourceTUTORIALbut if you want you can use the Eclipse Dirigible H2 datasource (by default namedDefaultDB).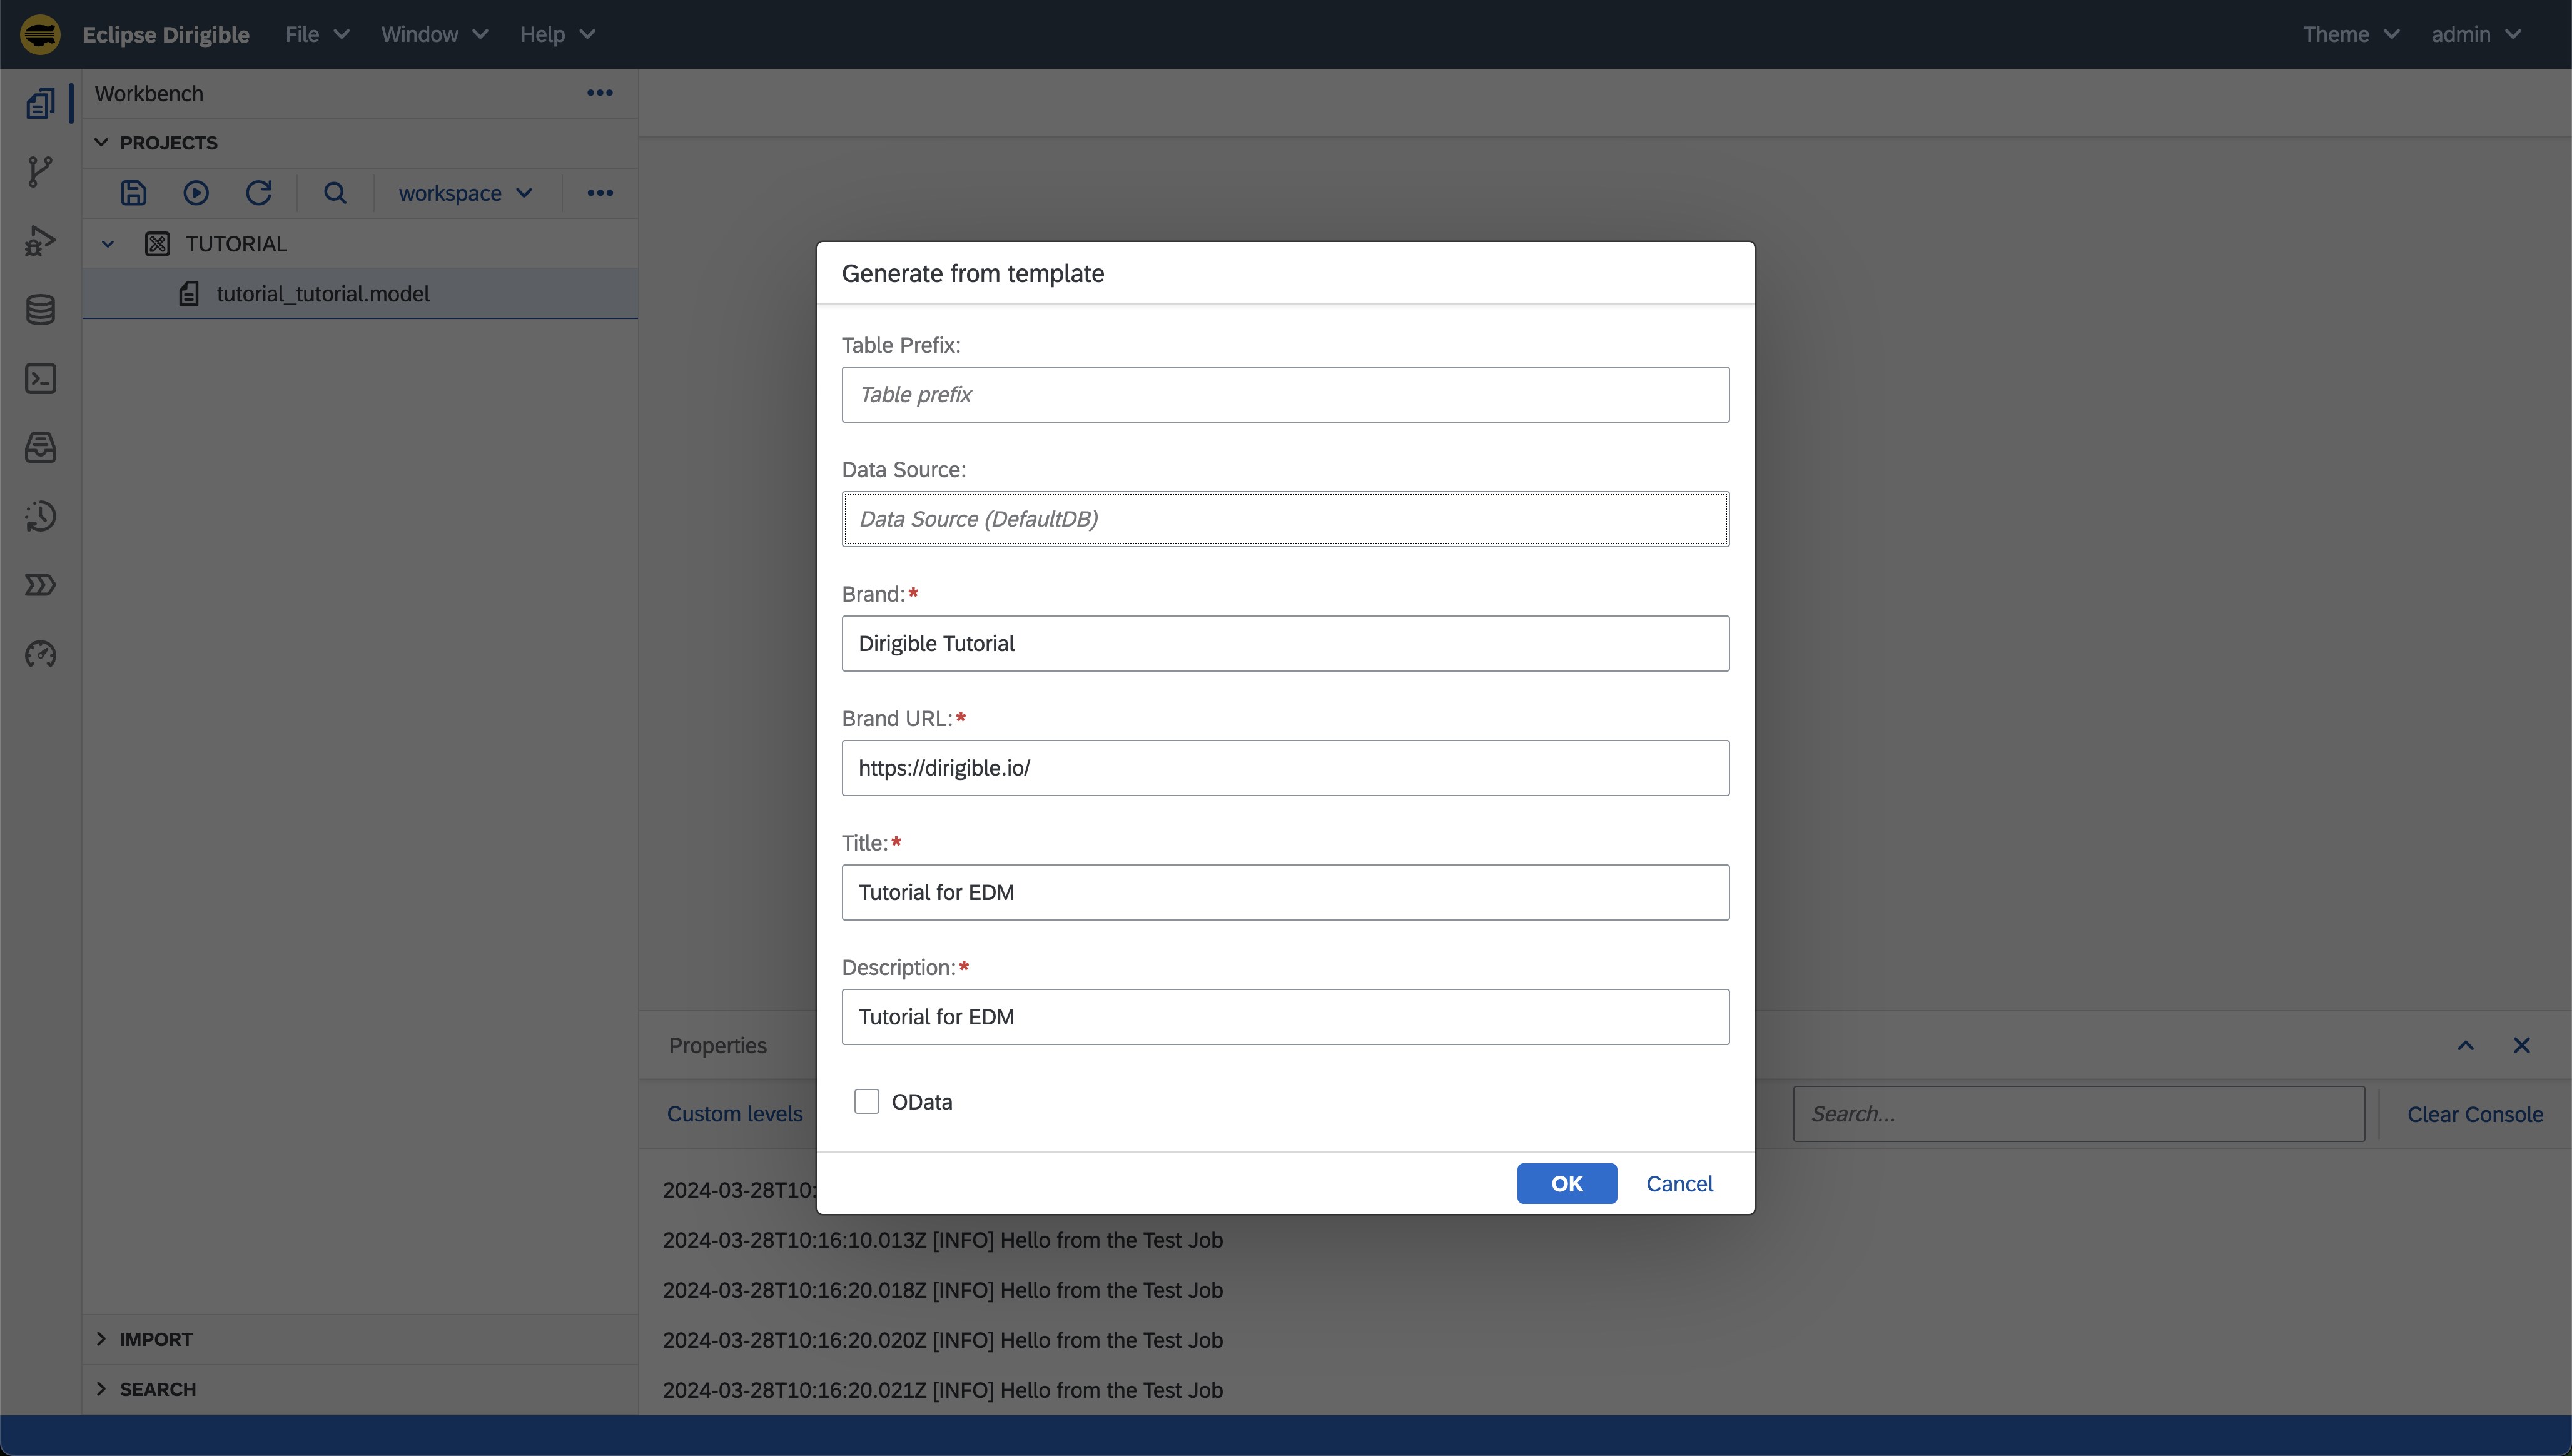
-
In the
TUTORIALproject a couple of files will be generated - this is our application. Right click the project and publish your application using thePublishbutton.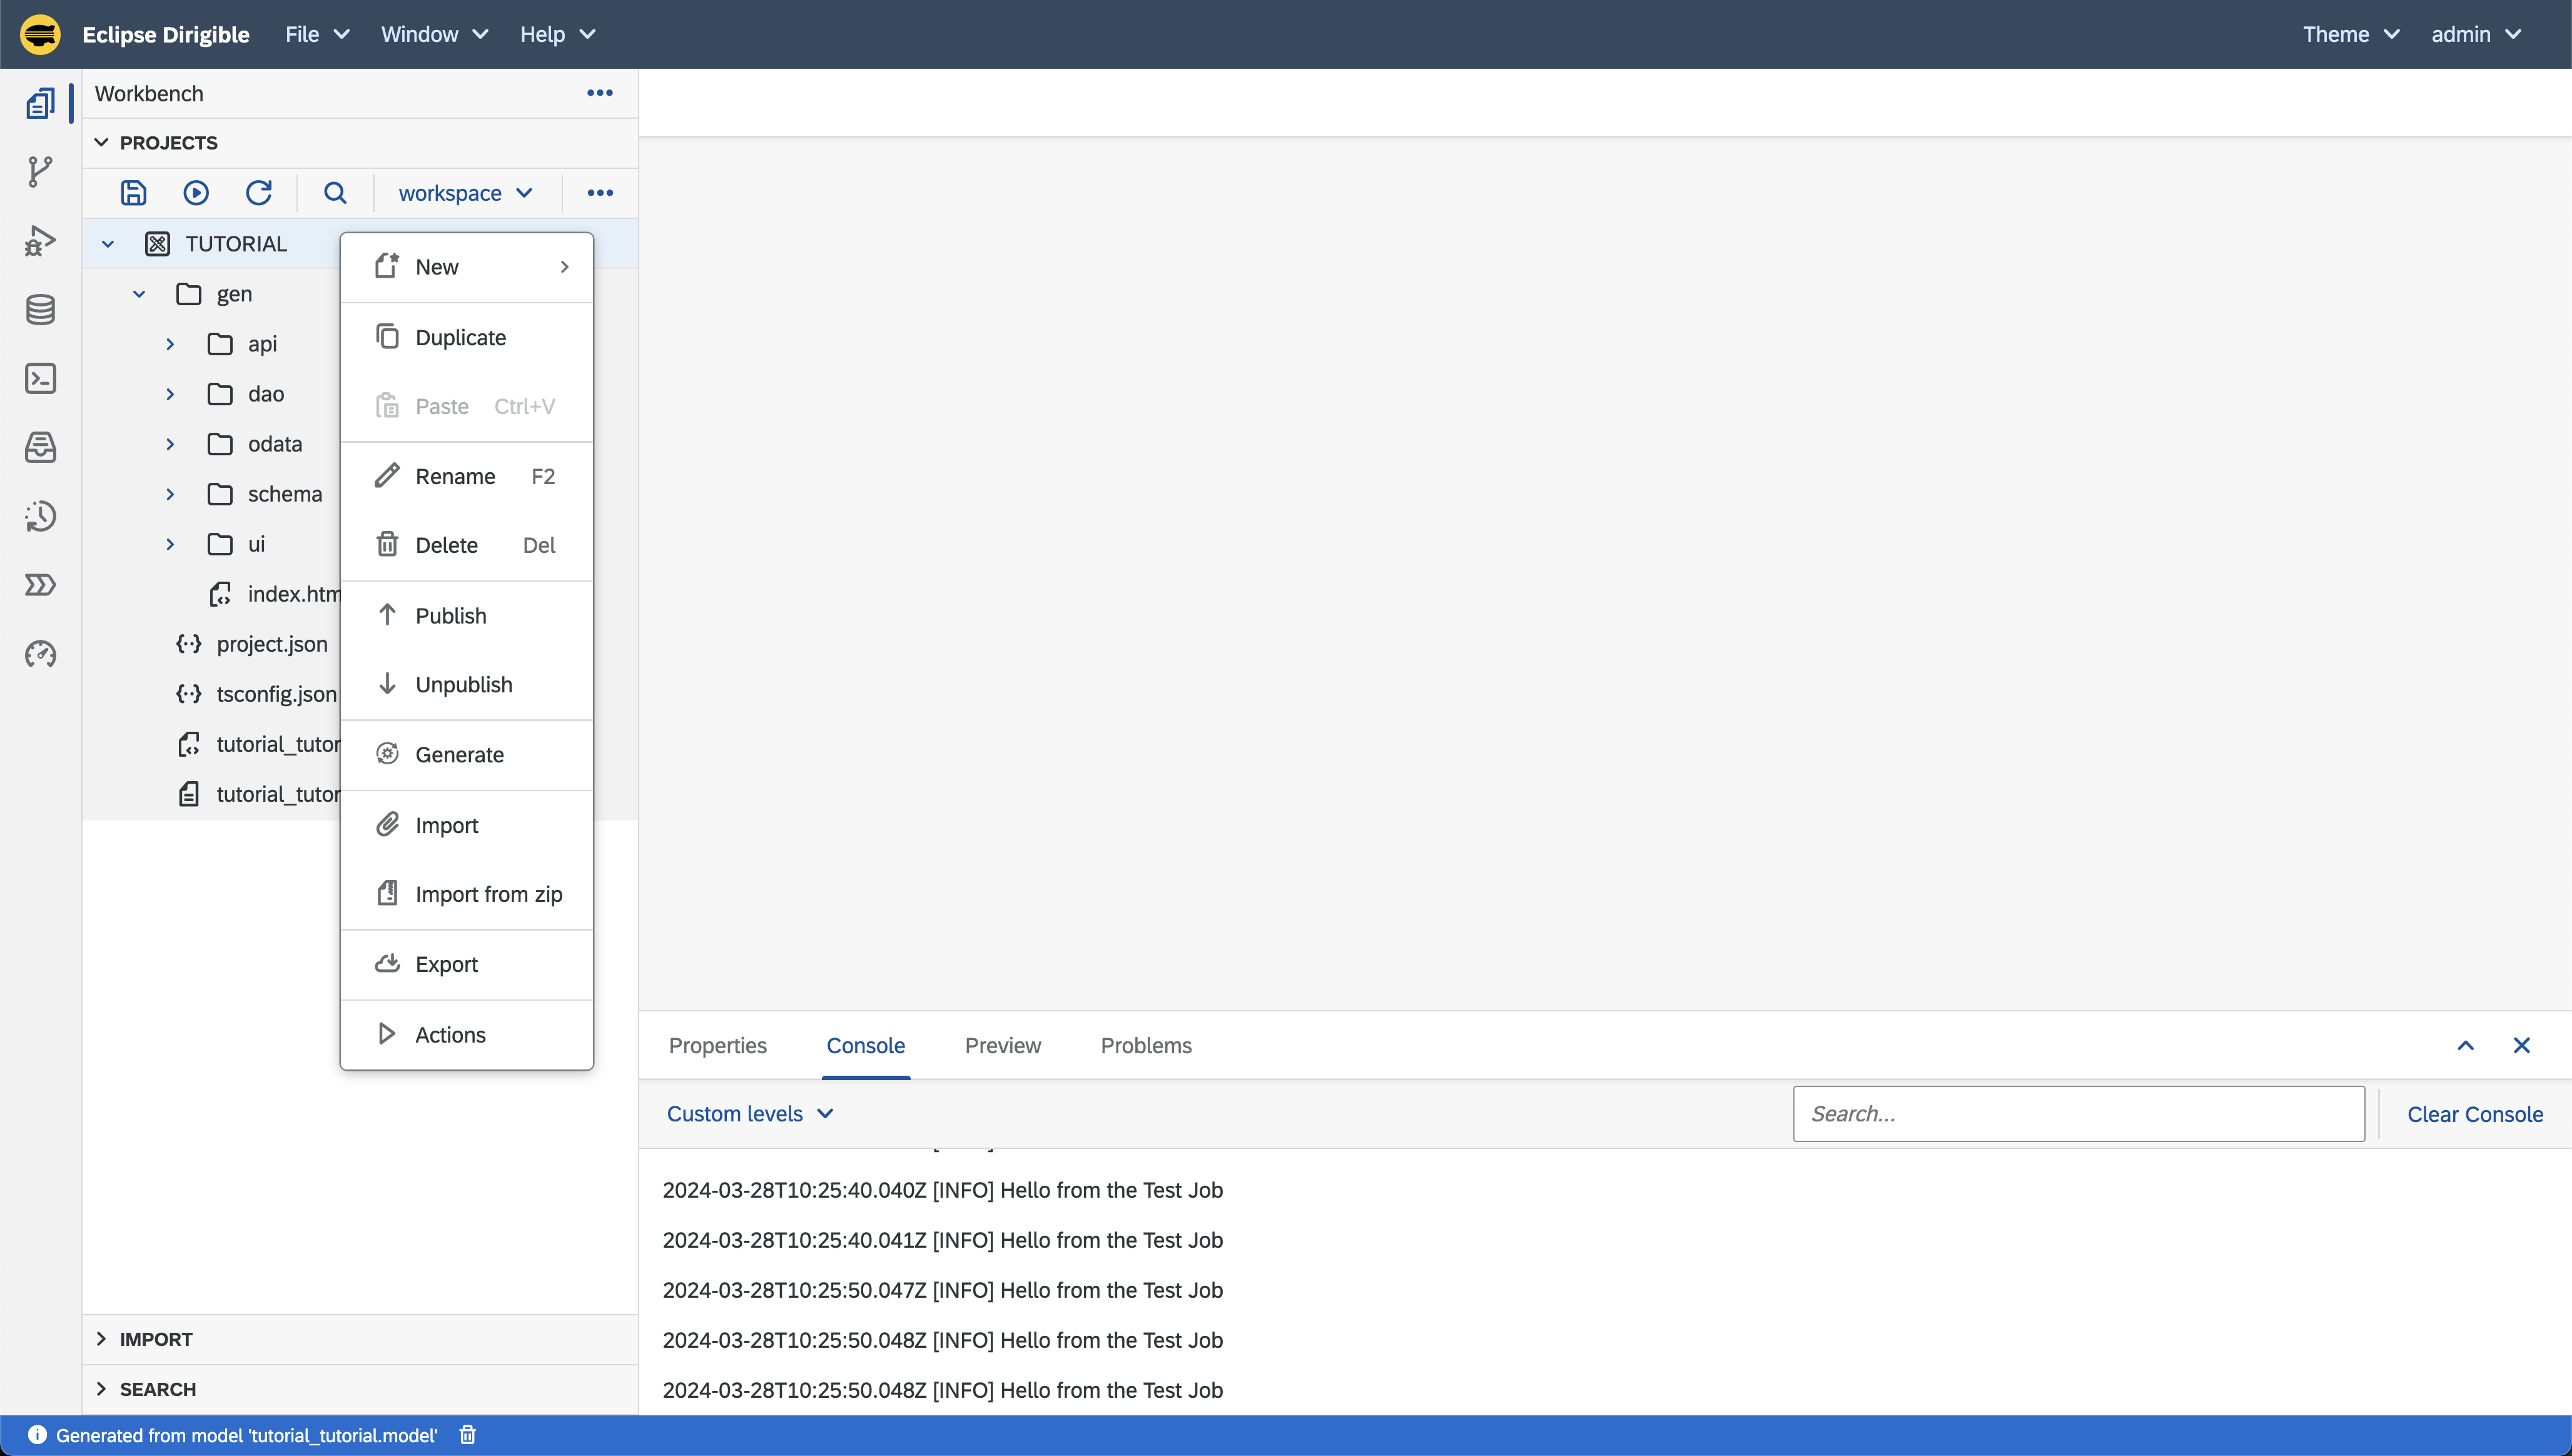
-
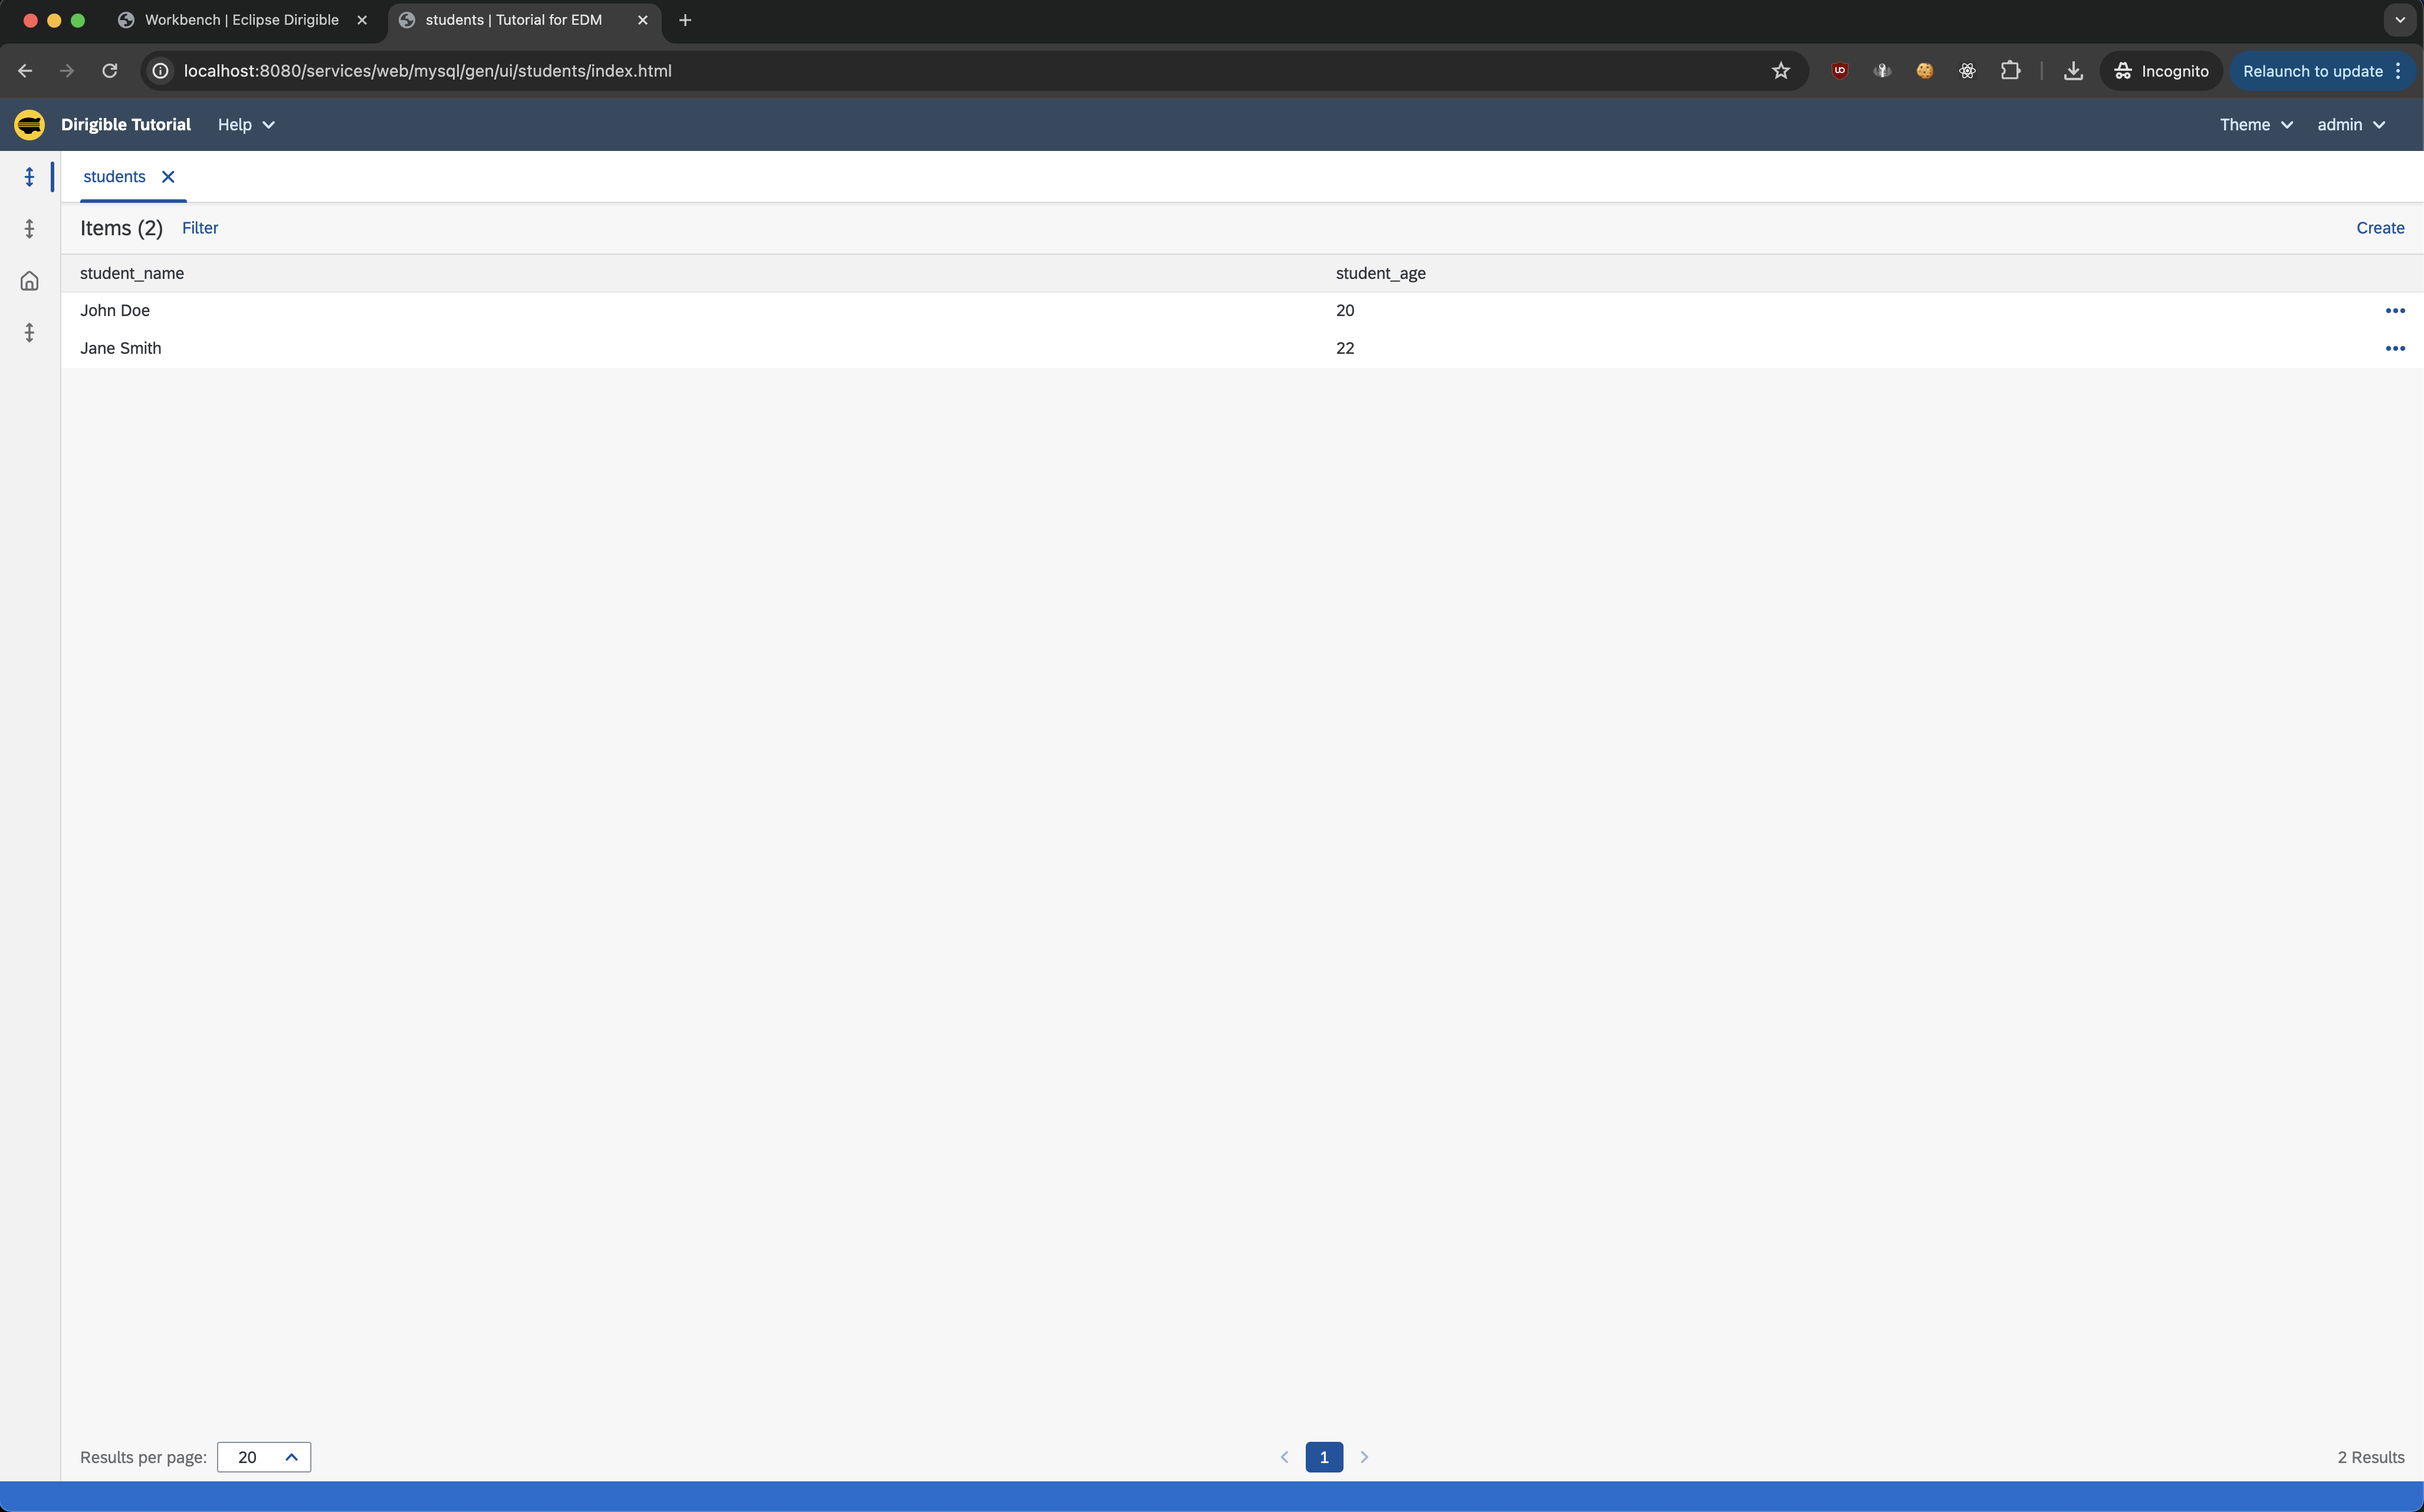
Navigate in the
genfolder in theTUTORIALproject, select theindex.htmland in the Preview section below you can fetch your link and start using your application: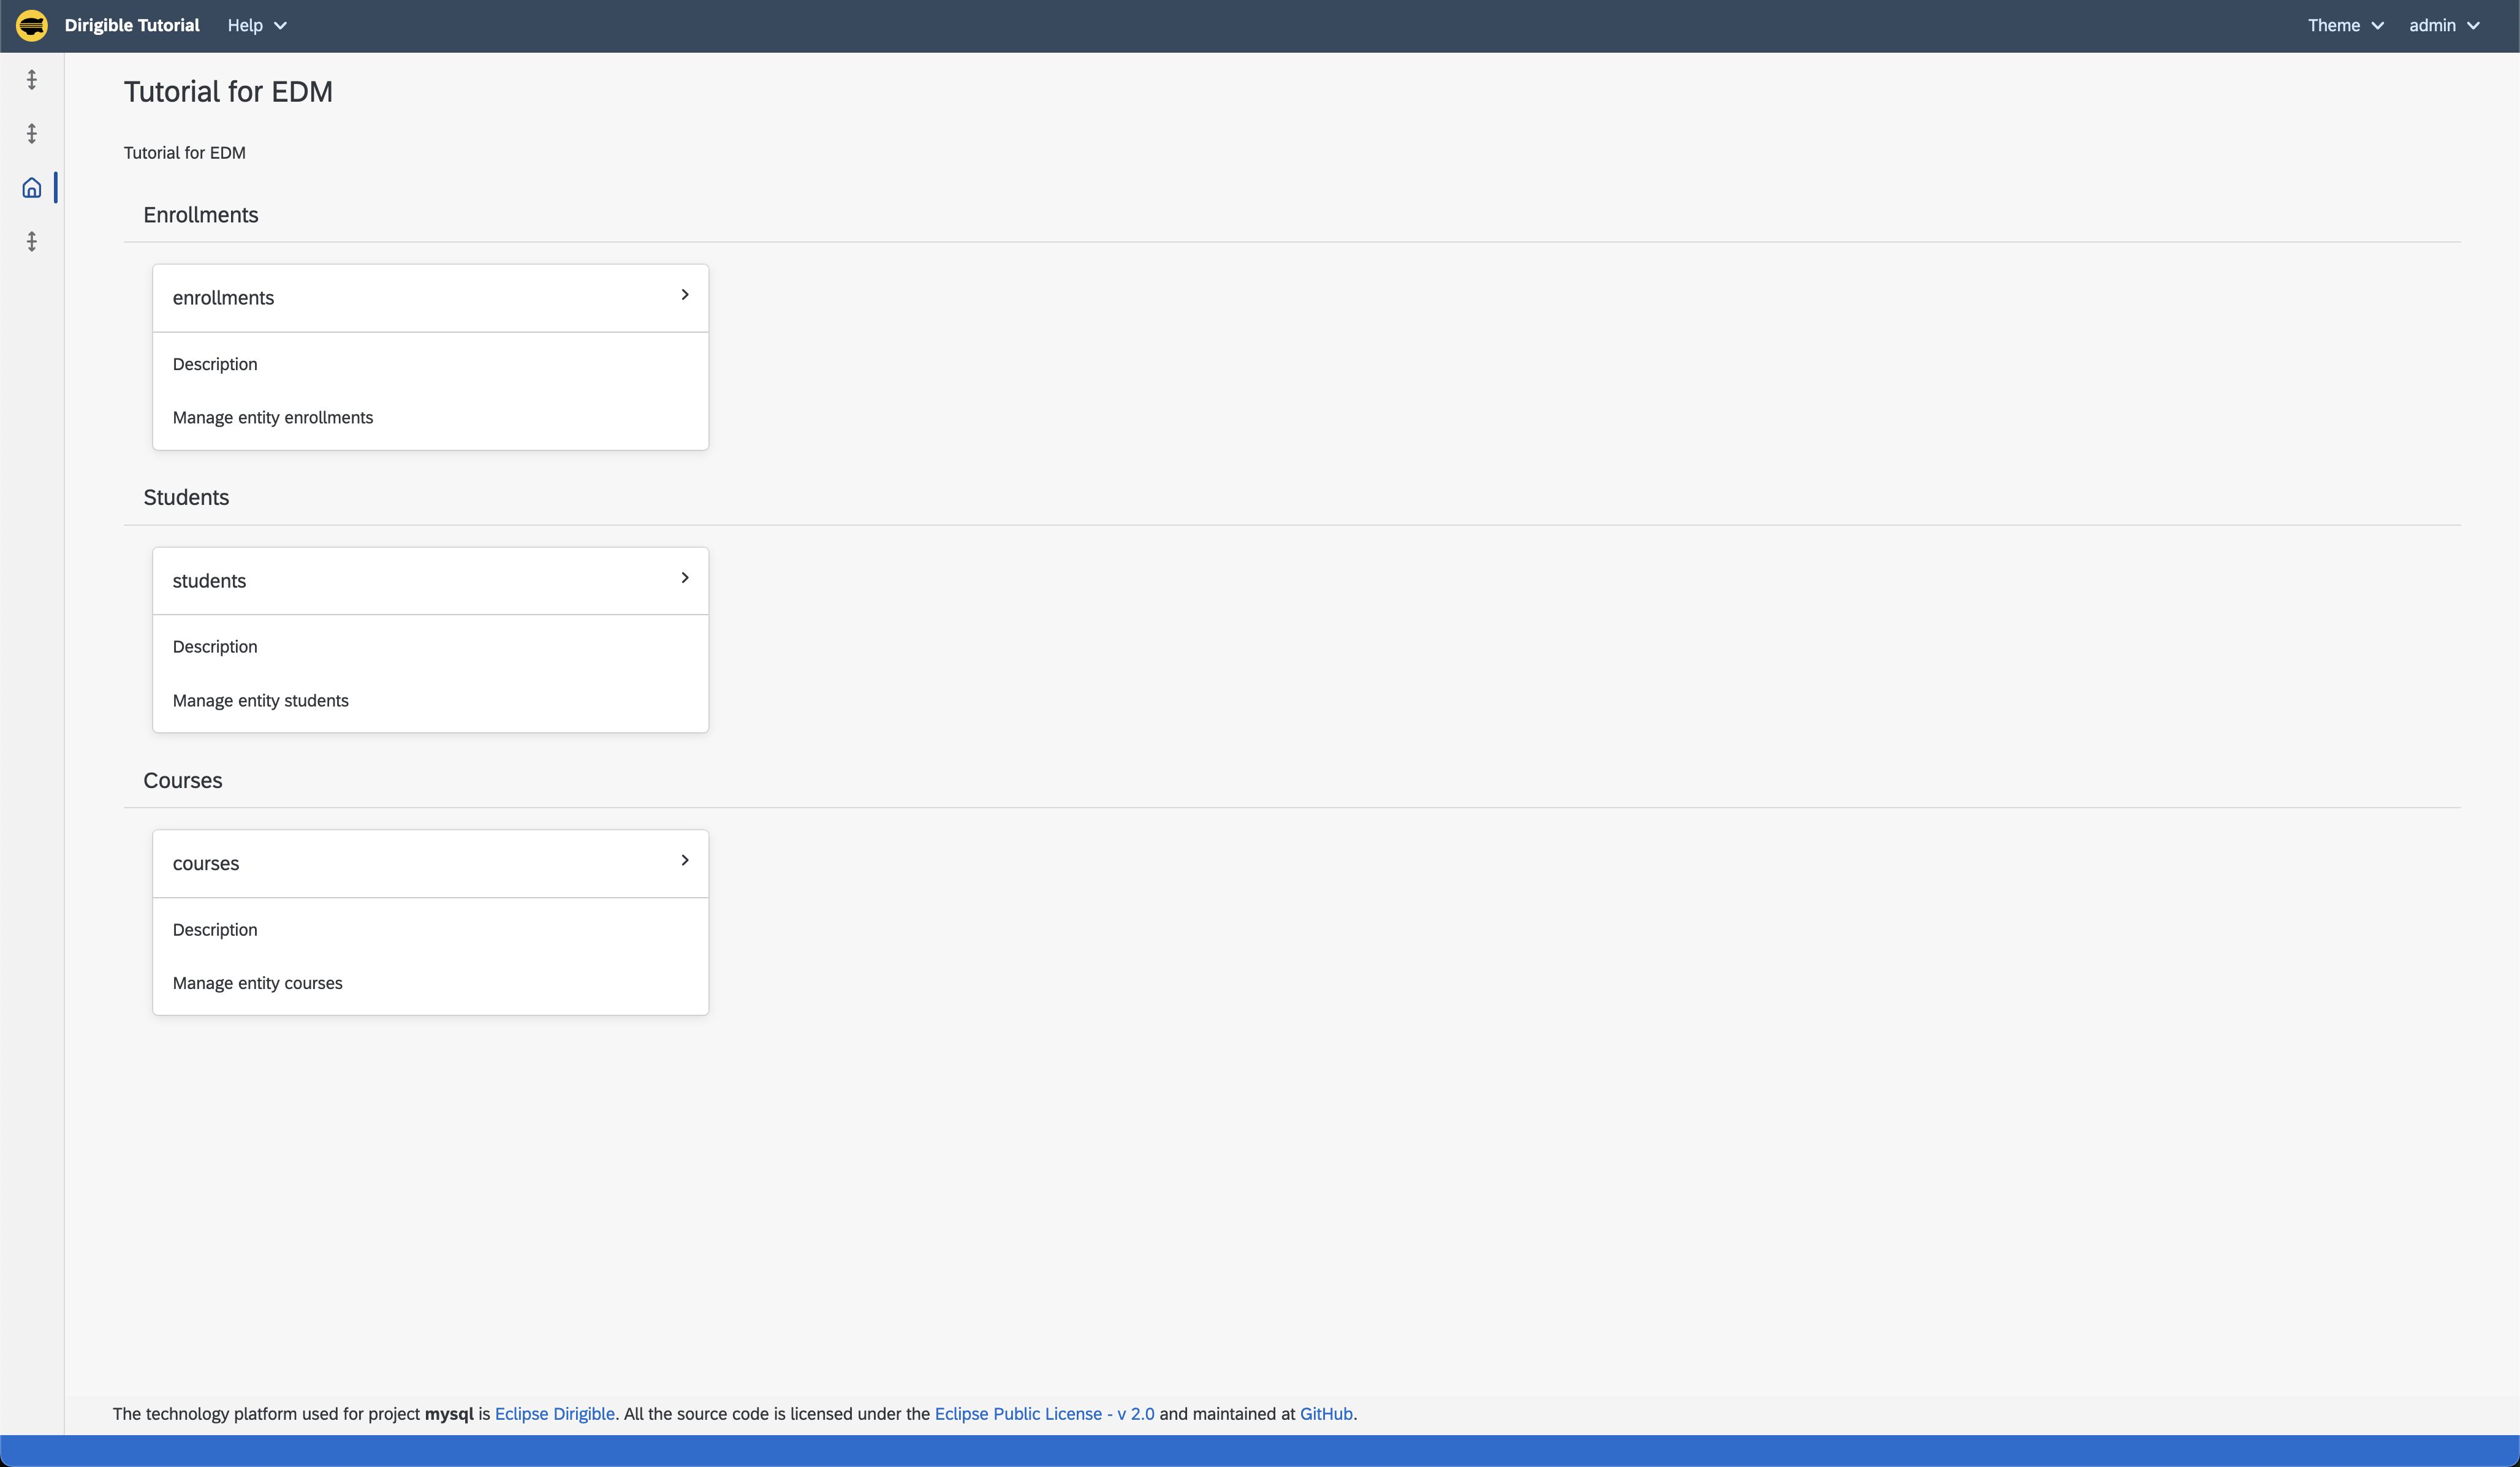
Conclusion
By following the steps outlined above, you can seamlessly generate an application in Eclipse Dirigible using a datasource. Ensure to set up the datasource correctly and choose the appropriate method based on your requirements.