Access Editor
The Access editor lets you manage access to your project through security constraints files (*.access). You can create multiple access constraints within your project as part of one security constraints file.
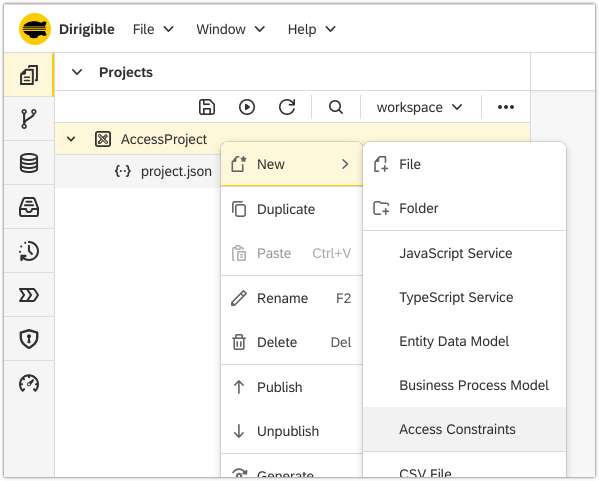
Create a Security Constraints File
-
Right-click on your project in the Projects view and choose New → Access Constraints.
-
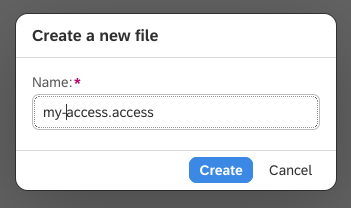
Enter a name for the security constraints file.
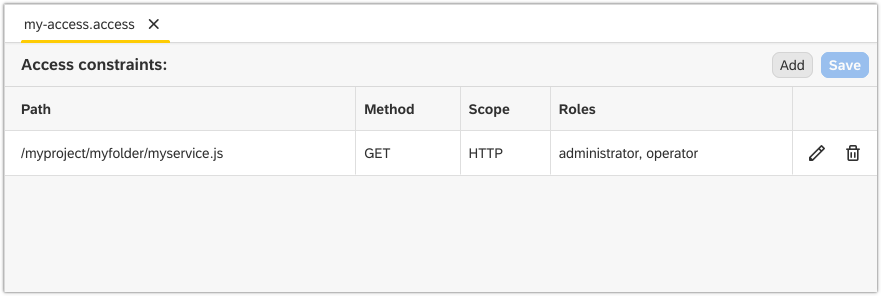
Create an Access Constraint
-
Double-click on your security constraints file to open it in the Access editor.
-
Click on the Add button.
-
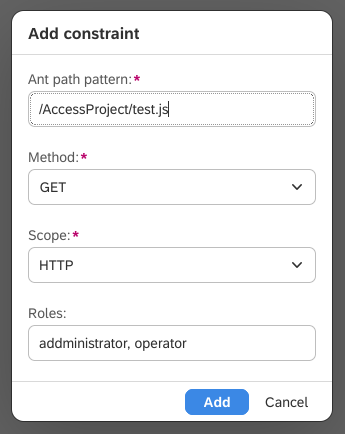
In the Create Constraint dialog, fill in the path to the file for which you're creating the access constraint in the Path field.
-
Choose an HTTP or CMIS method for which the access constraint will be valid in the Method field.
-
Select HTTP or CMIS scope from the drop-down list in the Scope field.
-
Fill in a role(s) for which the access constraint is valid in the Roles field.
-
Click Add.
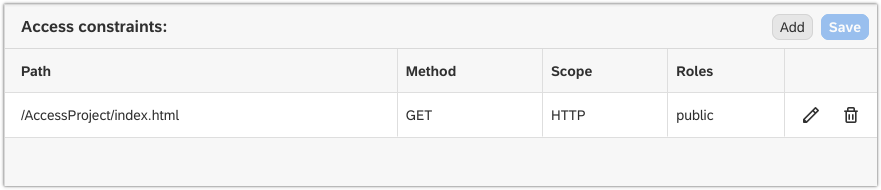
Create a Public Endpoint
You can also use the Access editor to make a resource publicly accessible. To do this, fill in the role public in step 6 above. This way, you're effectively creating a new public endpoint for the resource. You can access the public endpoint by replacing web with public in the endpoint's URL.
-
Fill in the
publicrole in the Roles field of the Add Constraint dialog, click Add and then Save.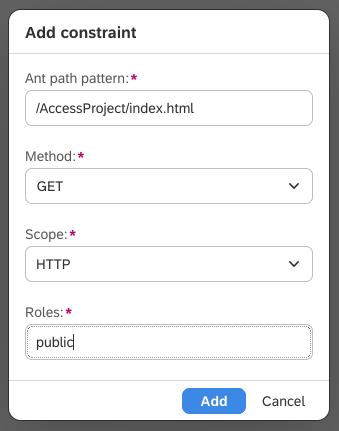
-
Copy the endpoint's URL from the Preview view.

-
Open a browser, paste the URL, replace
webwithpublicand check if you can access the public endpoint.